


2hrs / 5-6hrs / 20 mins
Ends in an approx 265m waterfall sequence: Minimum of 3x60m (having a 70m rope is better!)
Public access
Little Humboldt was first explored by Annette Phillips, Bronwen Waters, Dave Vass and Alain Rohr on 2 April 2008. They had set out for the Main Humboldt falls, but as they tried to cross this tributary, they found a nice-looking slot canyon and decided to do this instead as practice for the following day.
Thanks to Dan Clearwater, Patrick Timm, Rachel Jones and Gareth Riches for extra information from a descent in February 2024.
Approach: 2hrs
Scramble up Humboldt creek to the first tributary on the true left. Remember to be intimidated when you see the power of the main Humboldt falls!!
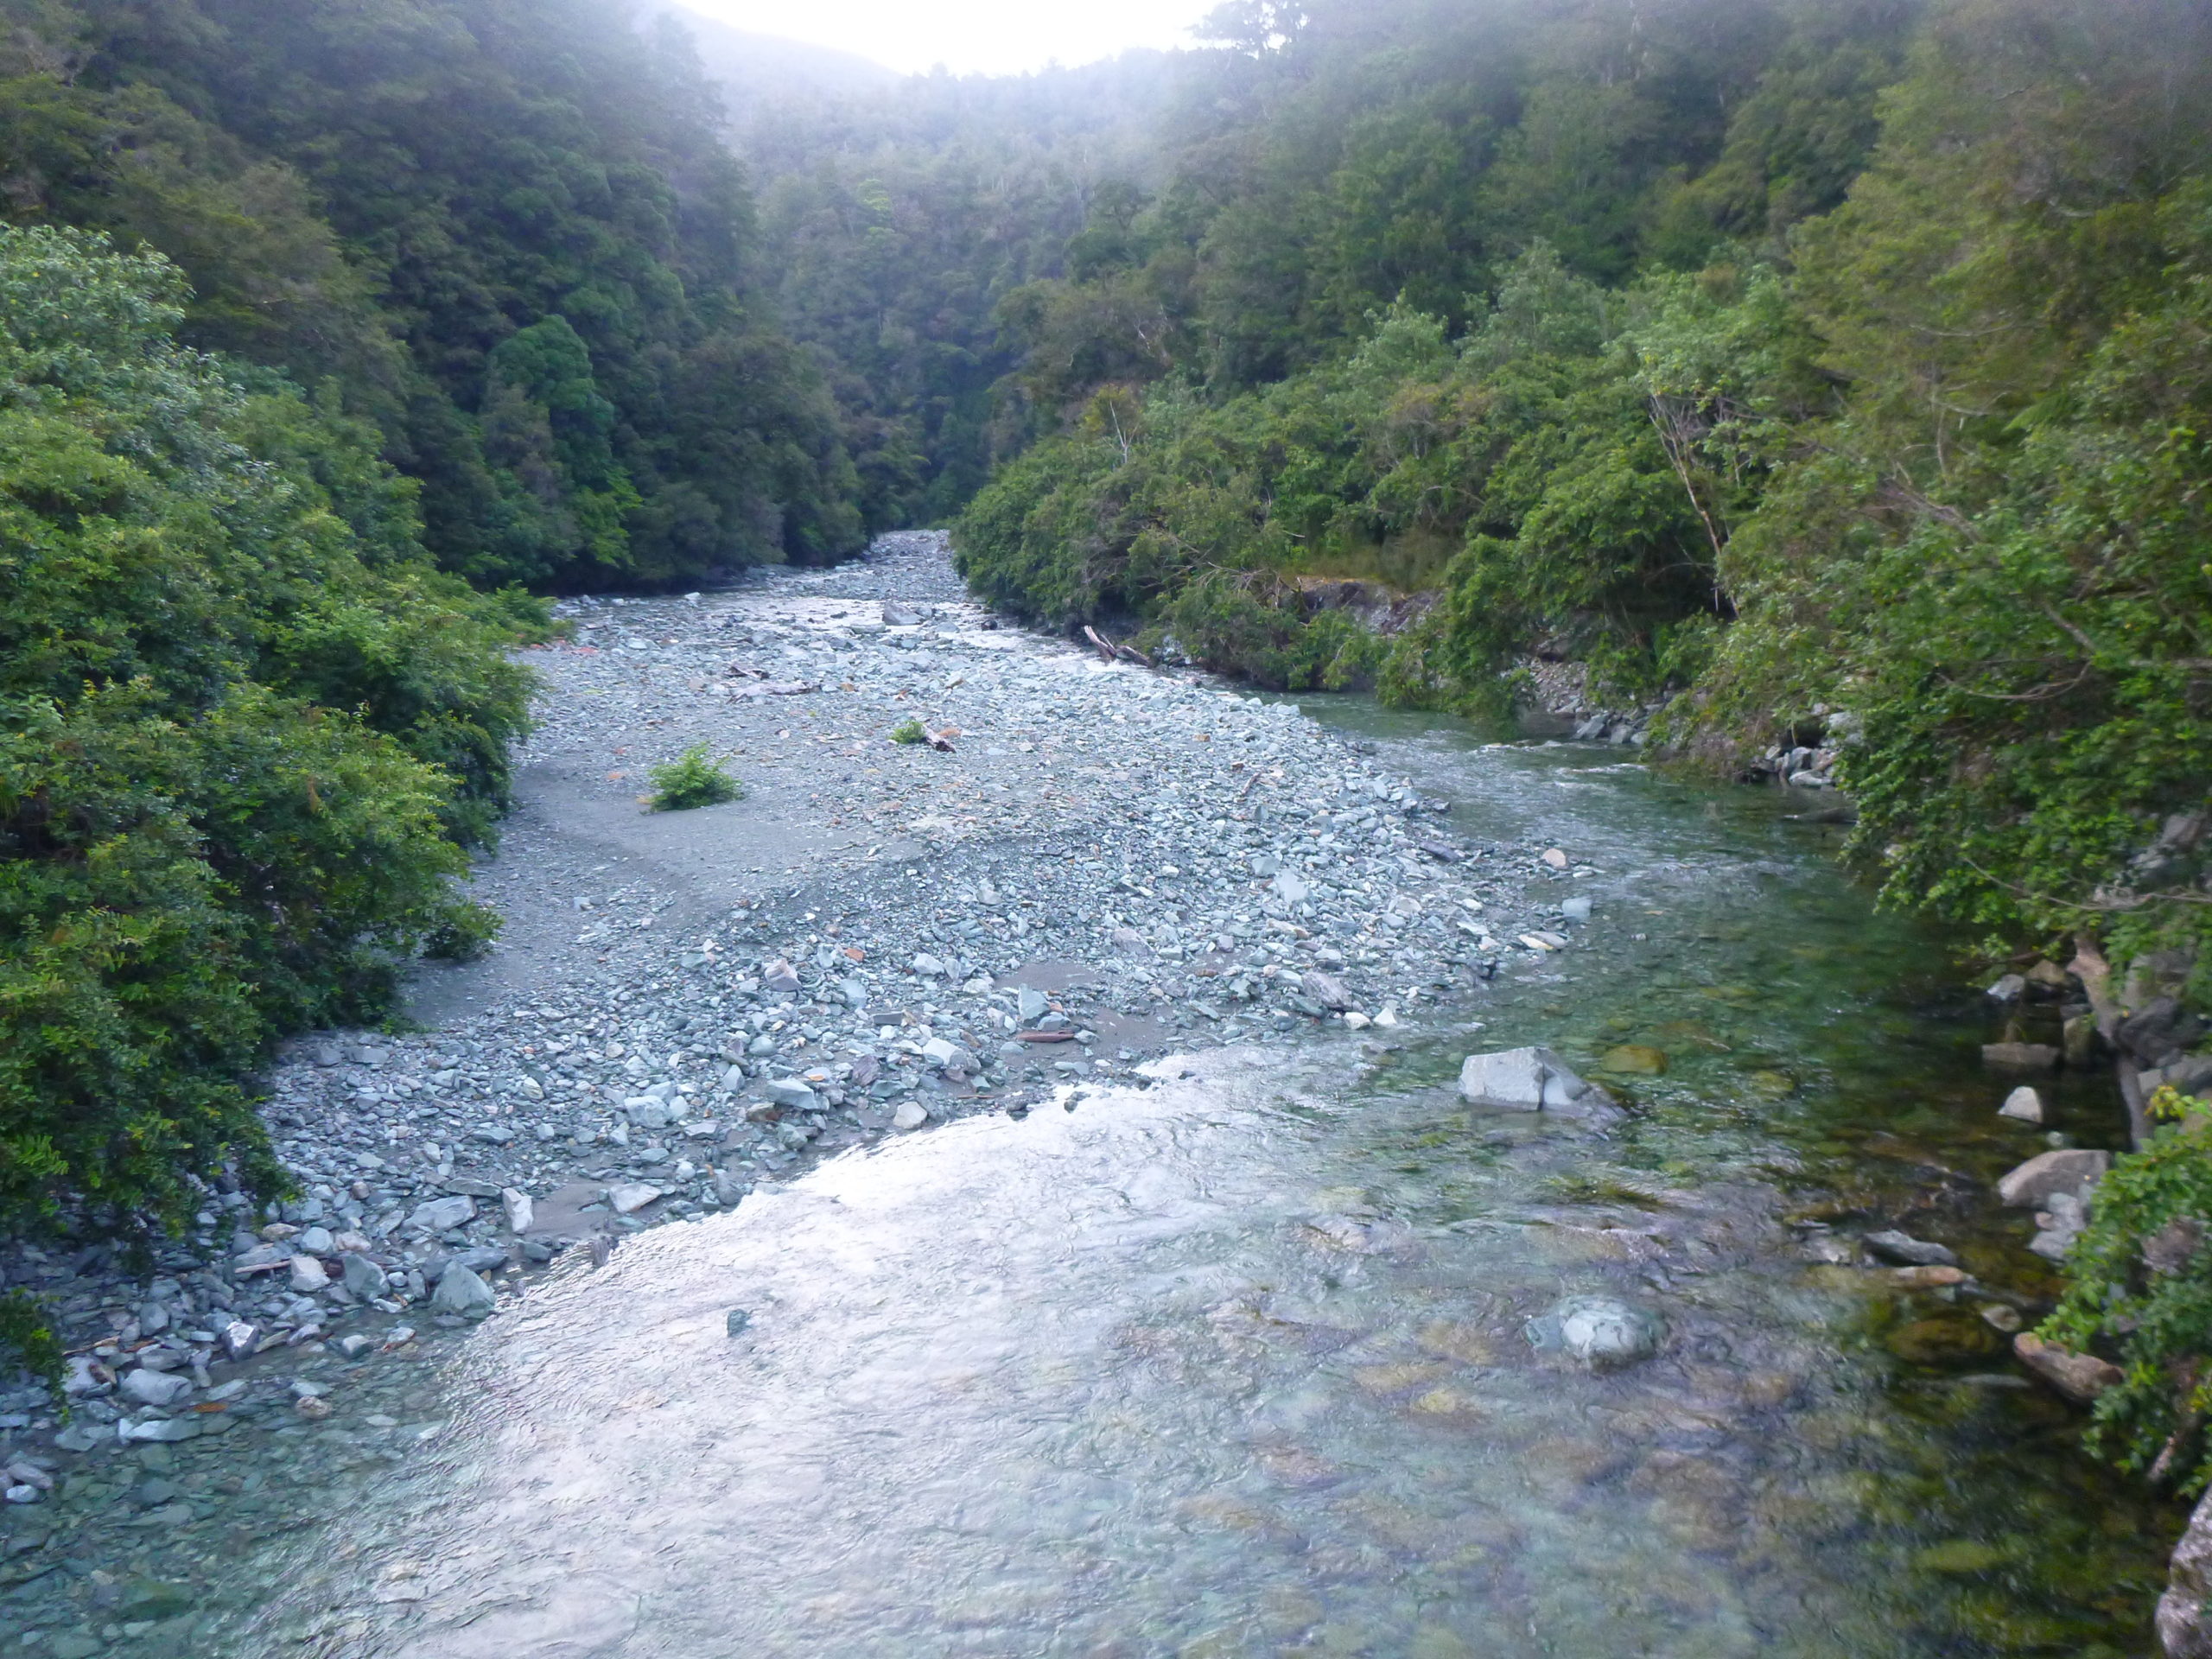

Head up the tributary, for a hundred or so meters then enter the forest to your left. Climb steeply towards the falls until you arrive on a very sharp and narrow spur in the forest. Climb the spur, sidling to avoid any obstacles until the spur runs out.
Avoiding the super steep terrain on your left, continue up through very steep forest until it flattens out. From here, sidle around towards little Humboldt canyon. From the rim you can peer in to much of the canyon and decide how high you want to enter. Its also worth noting the entry/escape points as you hike up.
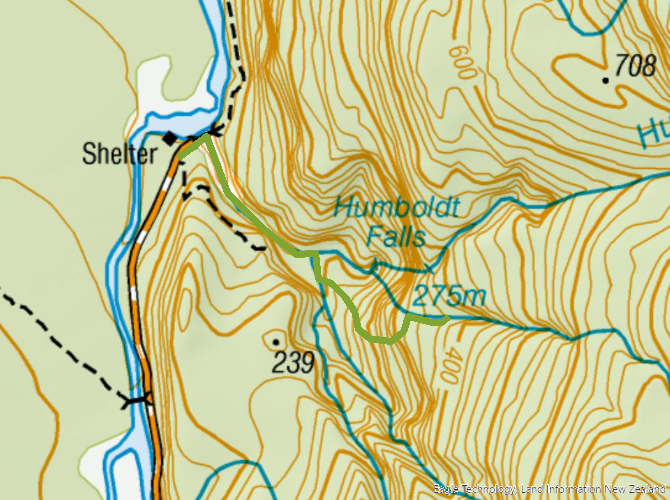
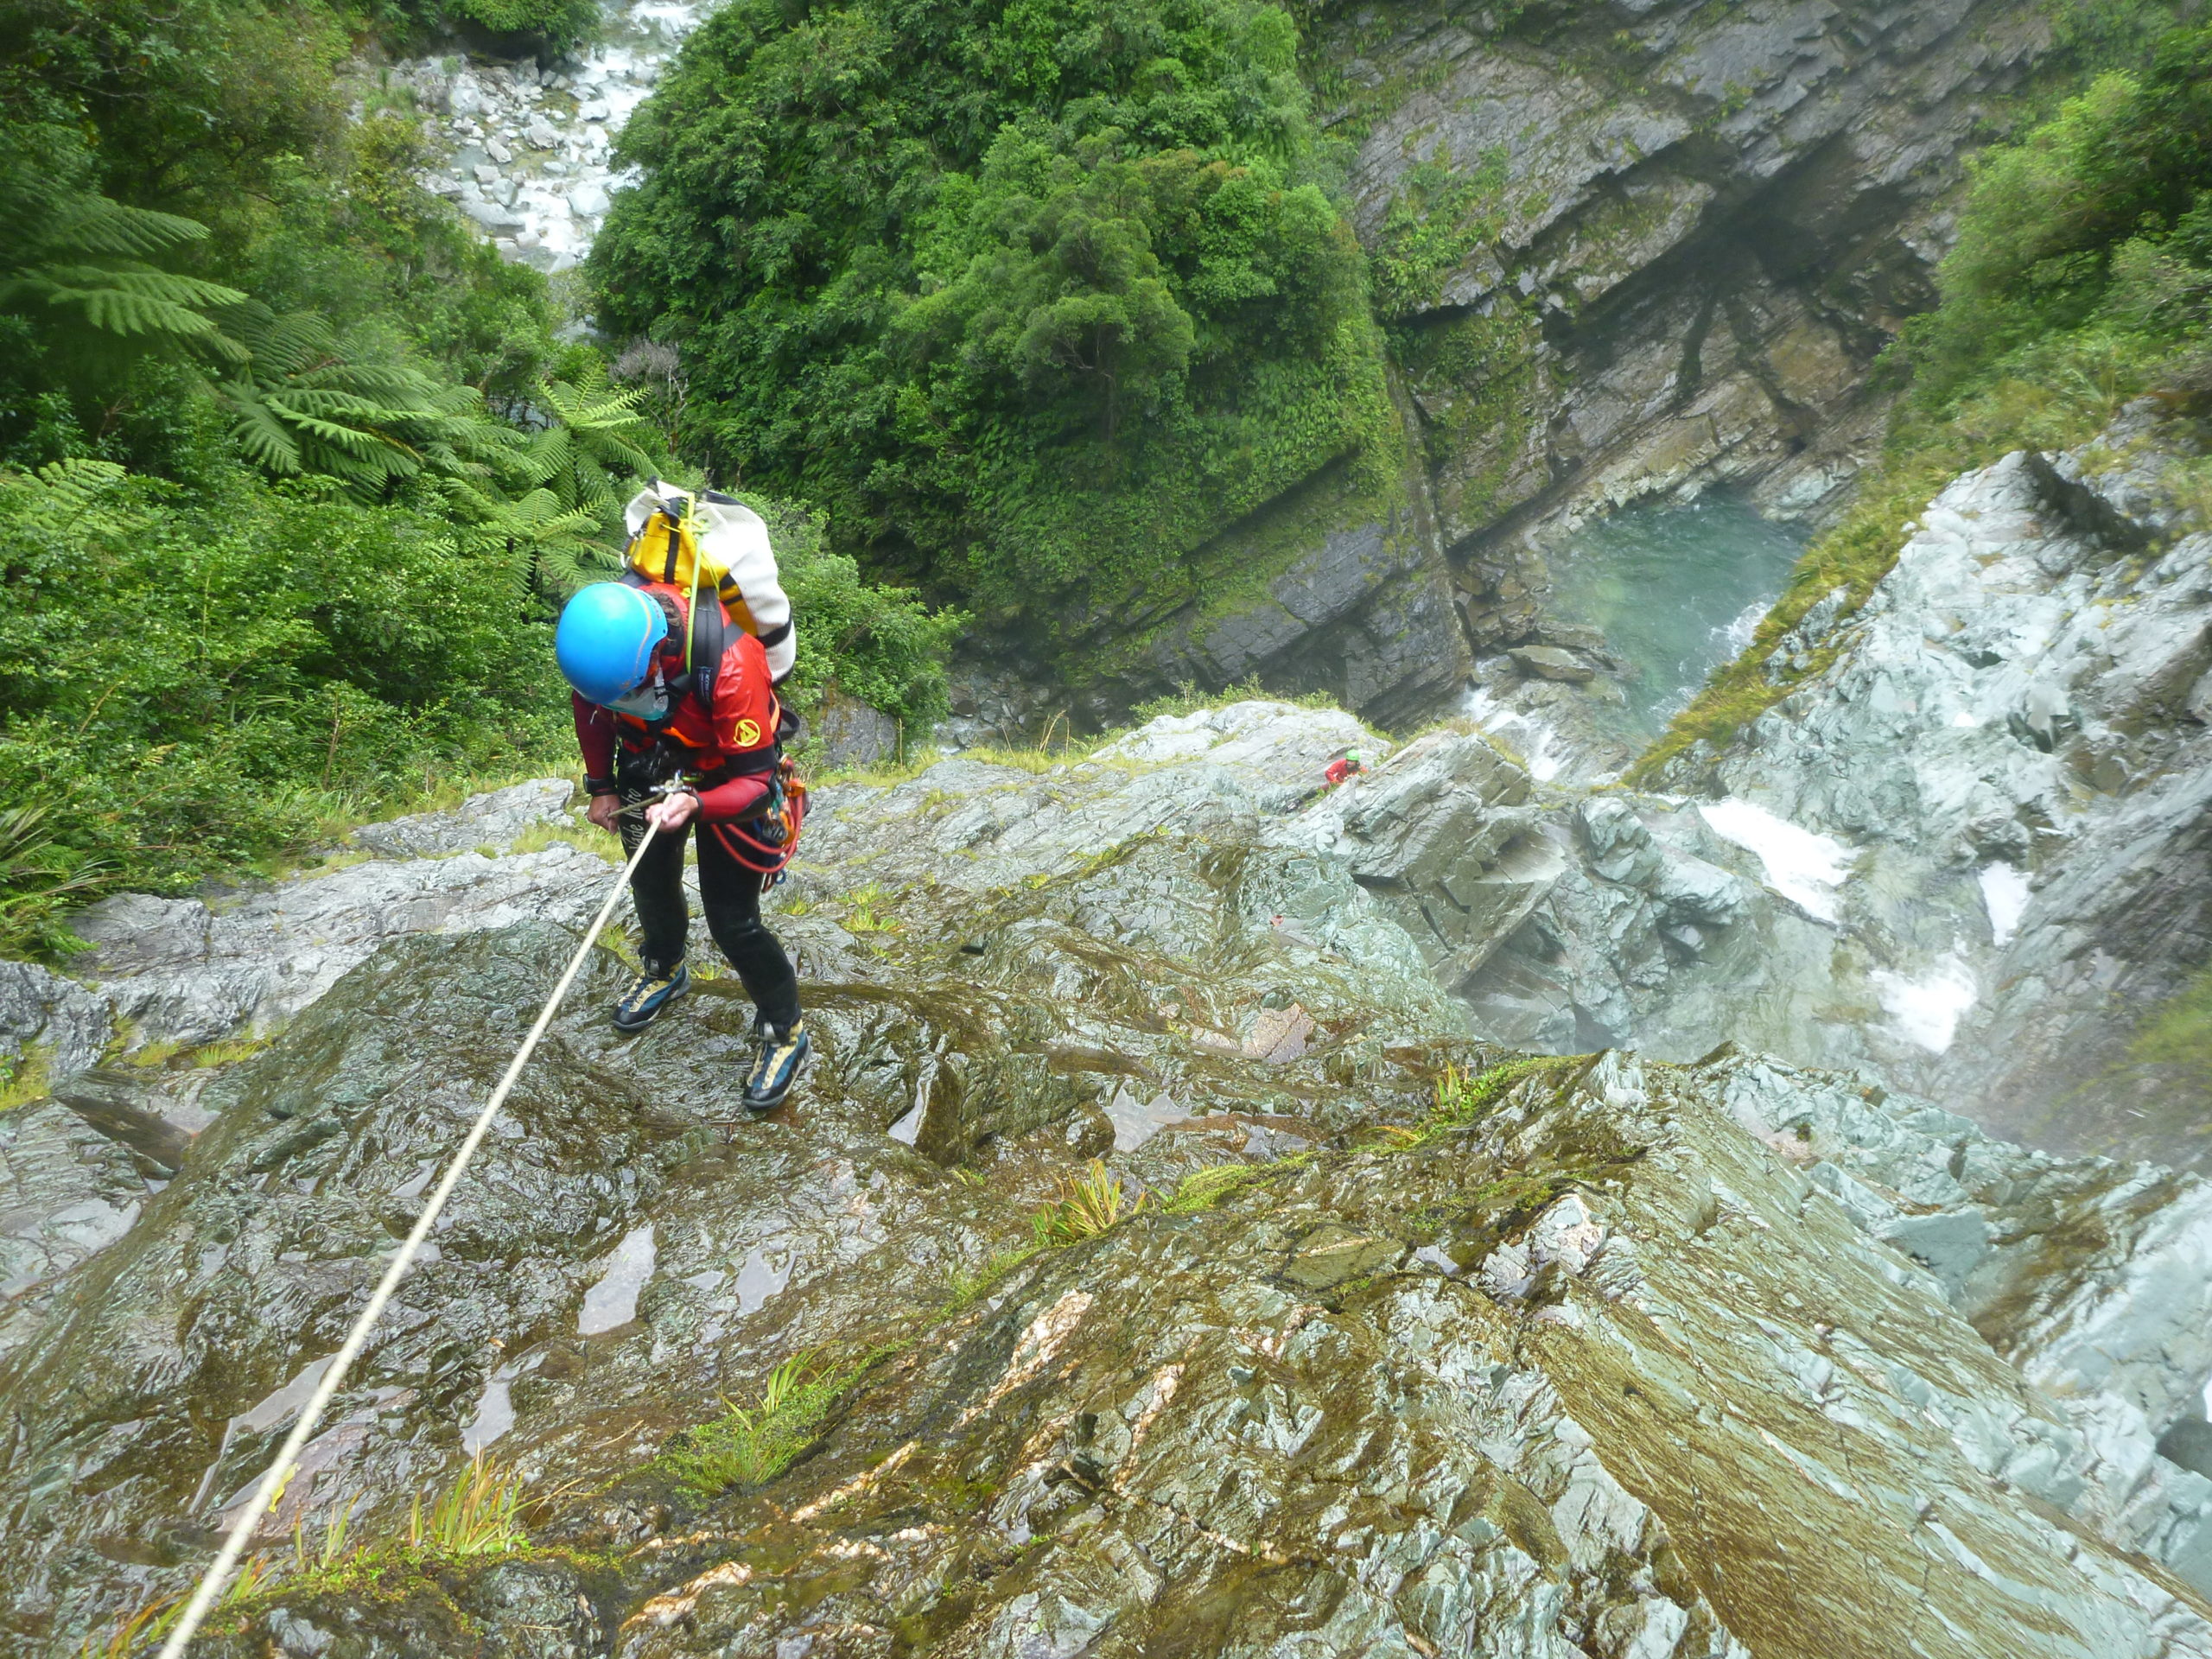
The canyon has been descended from the 700m contour, with a number of absiels and intermittent canyon walls. The best canyon begins around the 350m contour, and is each pitch is bolted below this point.
Descent: 5hrs
This trip is a canyon of two very distinct halves.
The canyon section v3a3
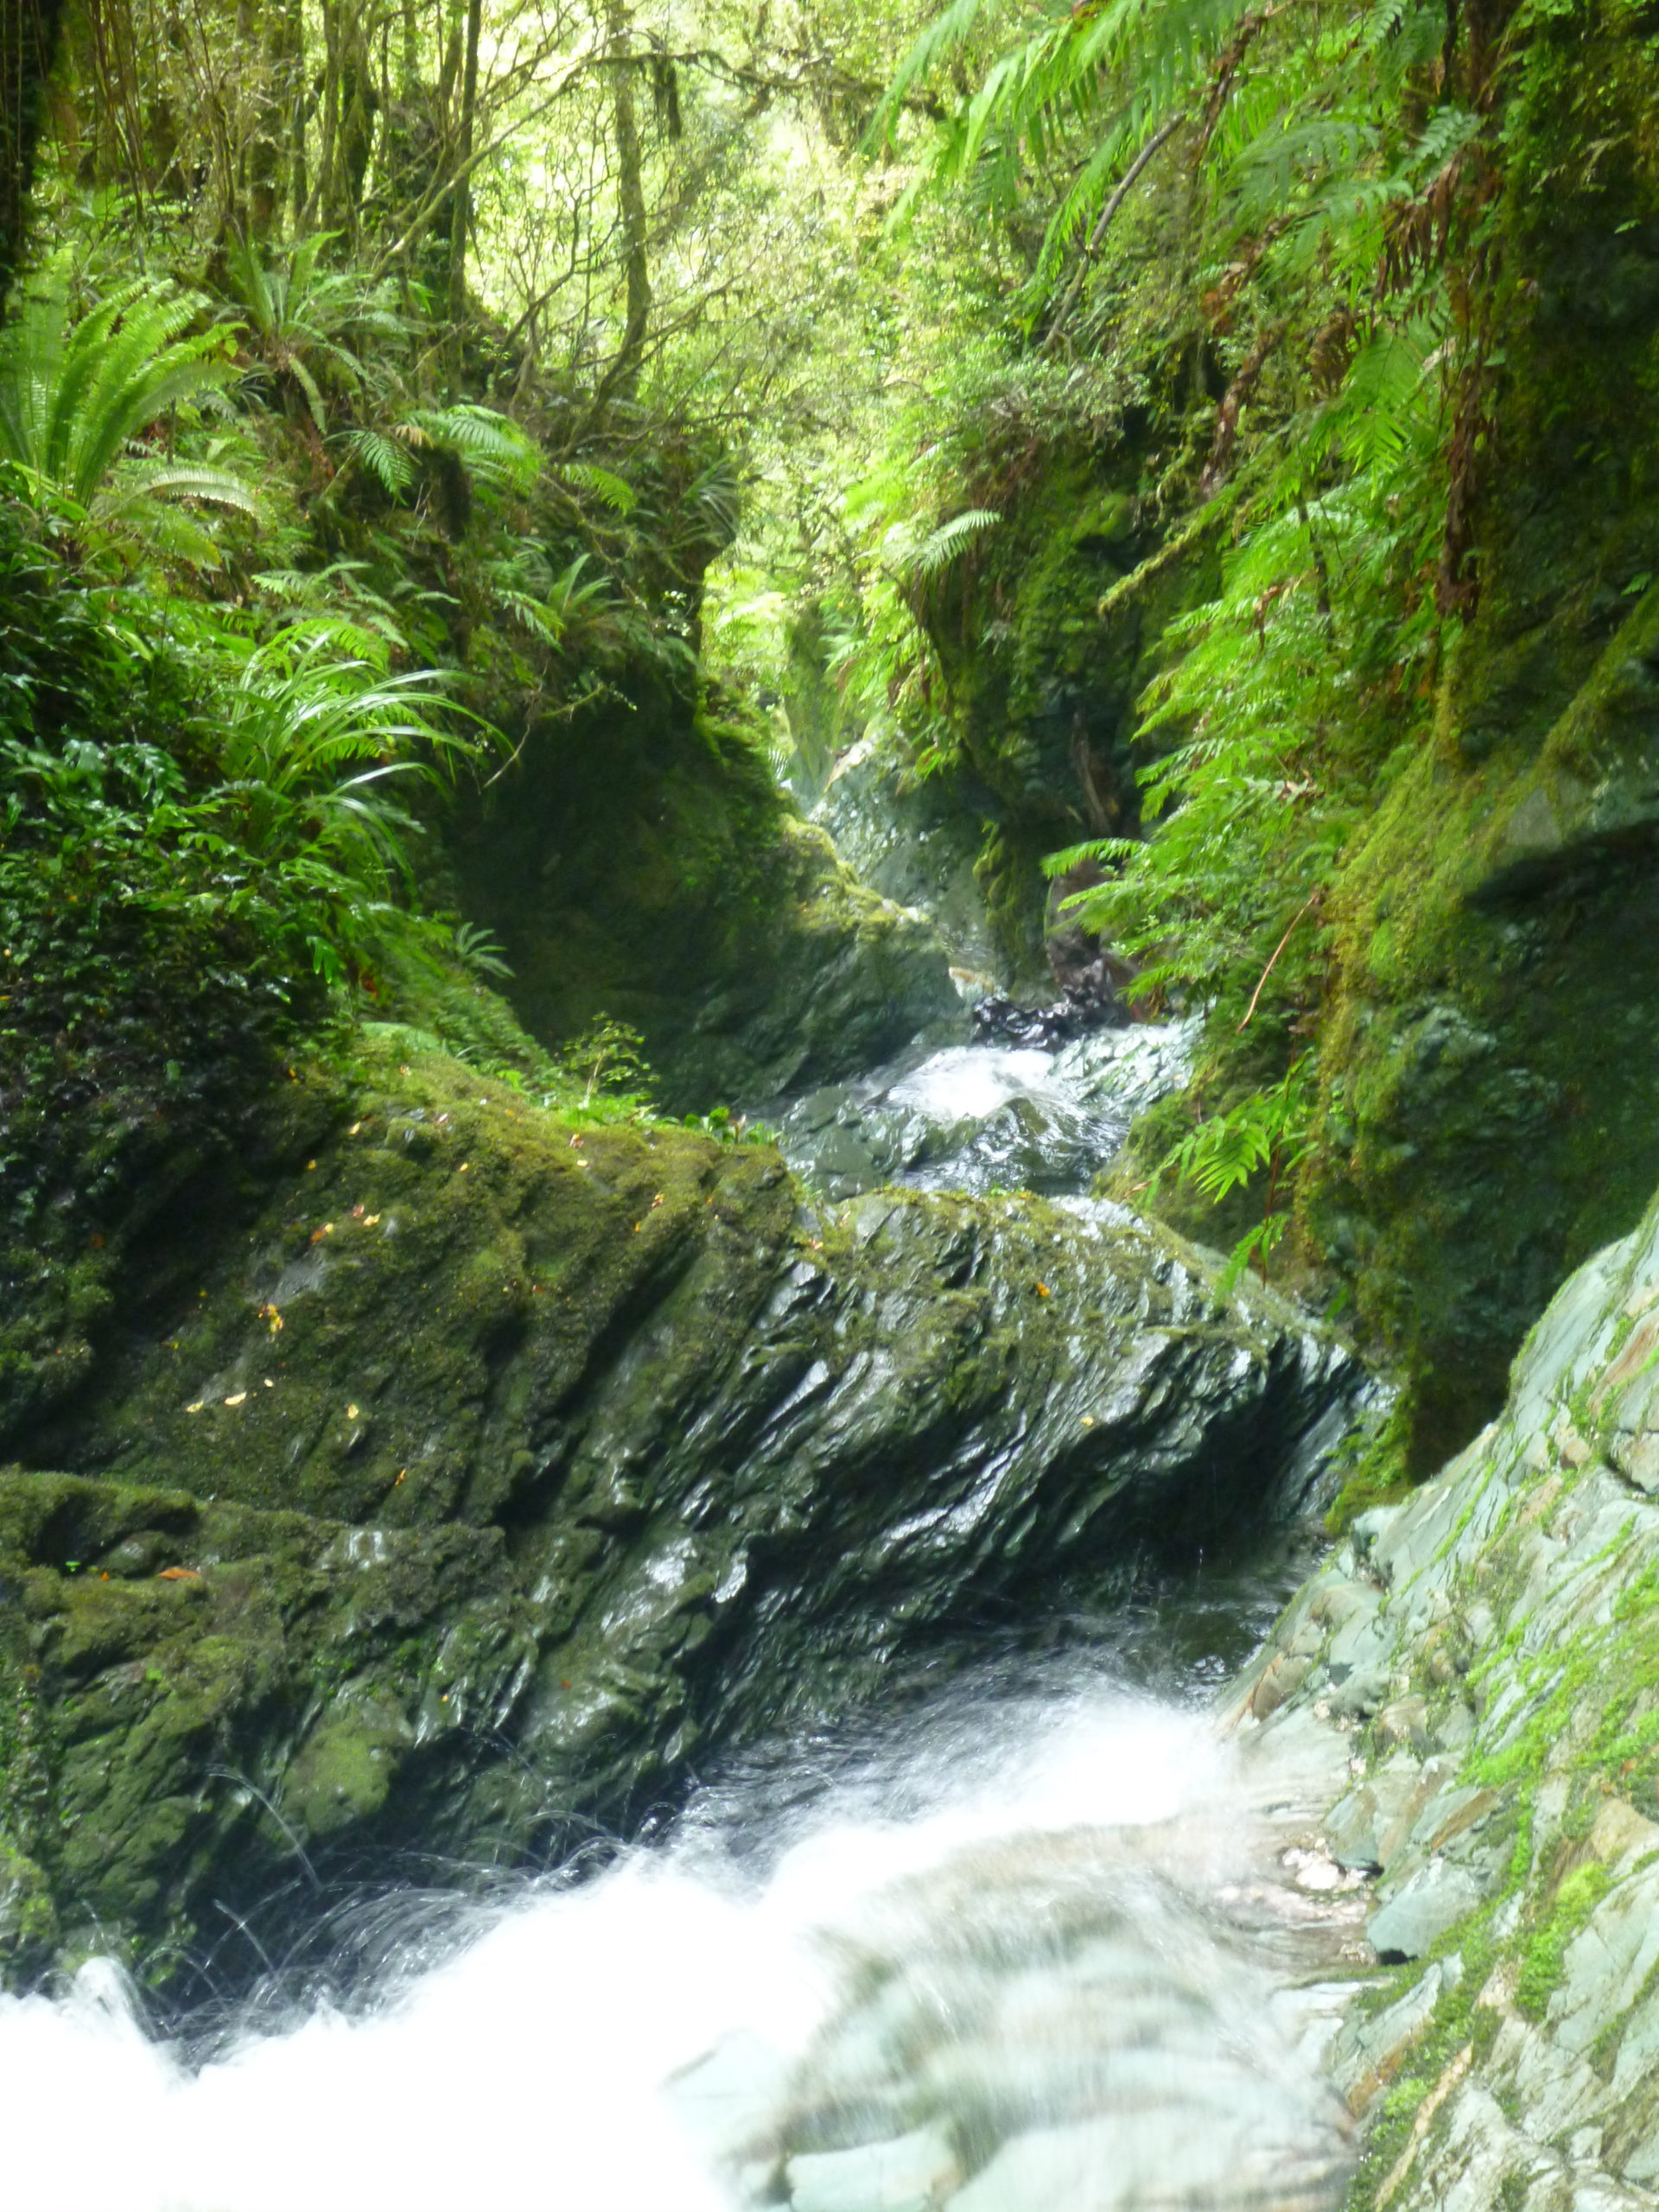
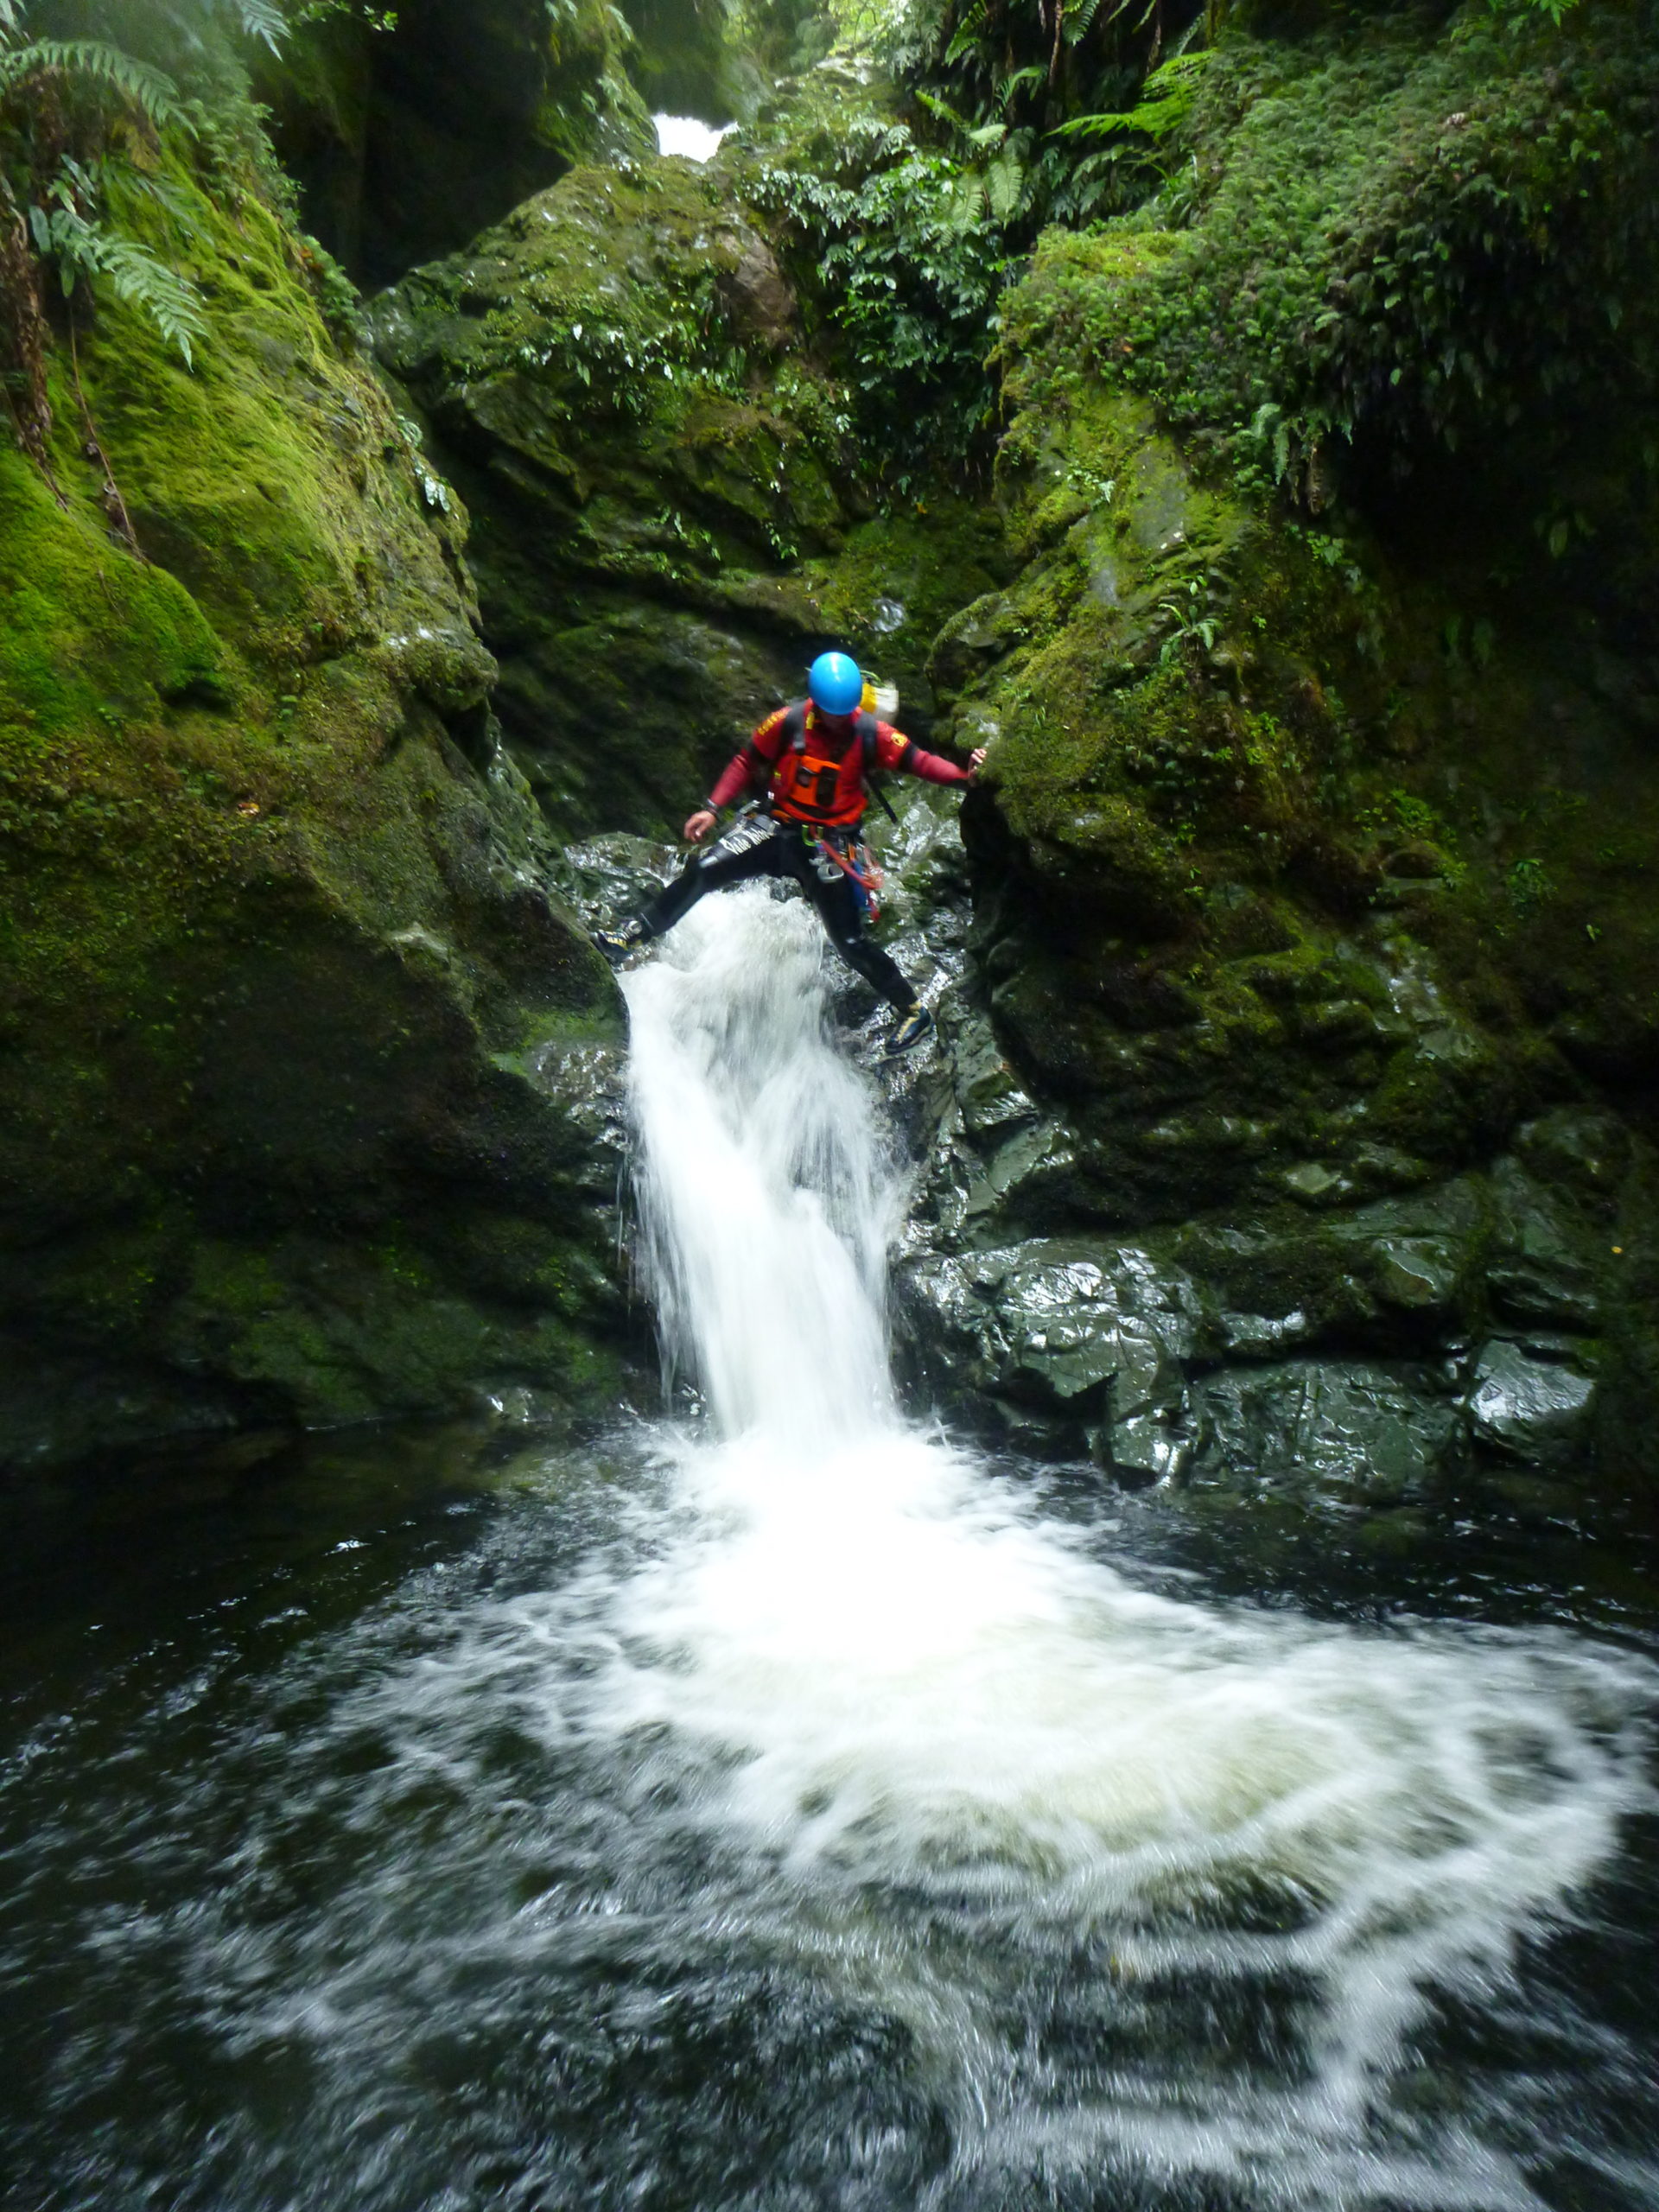
Initially, there’s a straight-forward canyon with a series of smaller bolted drops between 6-20m. Several of the pools are very deep: there’s 3 or 4 nice medium-sized jumps to be had! There are a few places here where you could scramble out (or in).
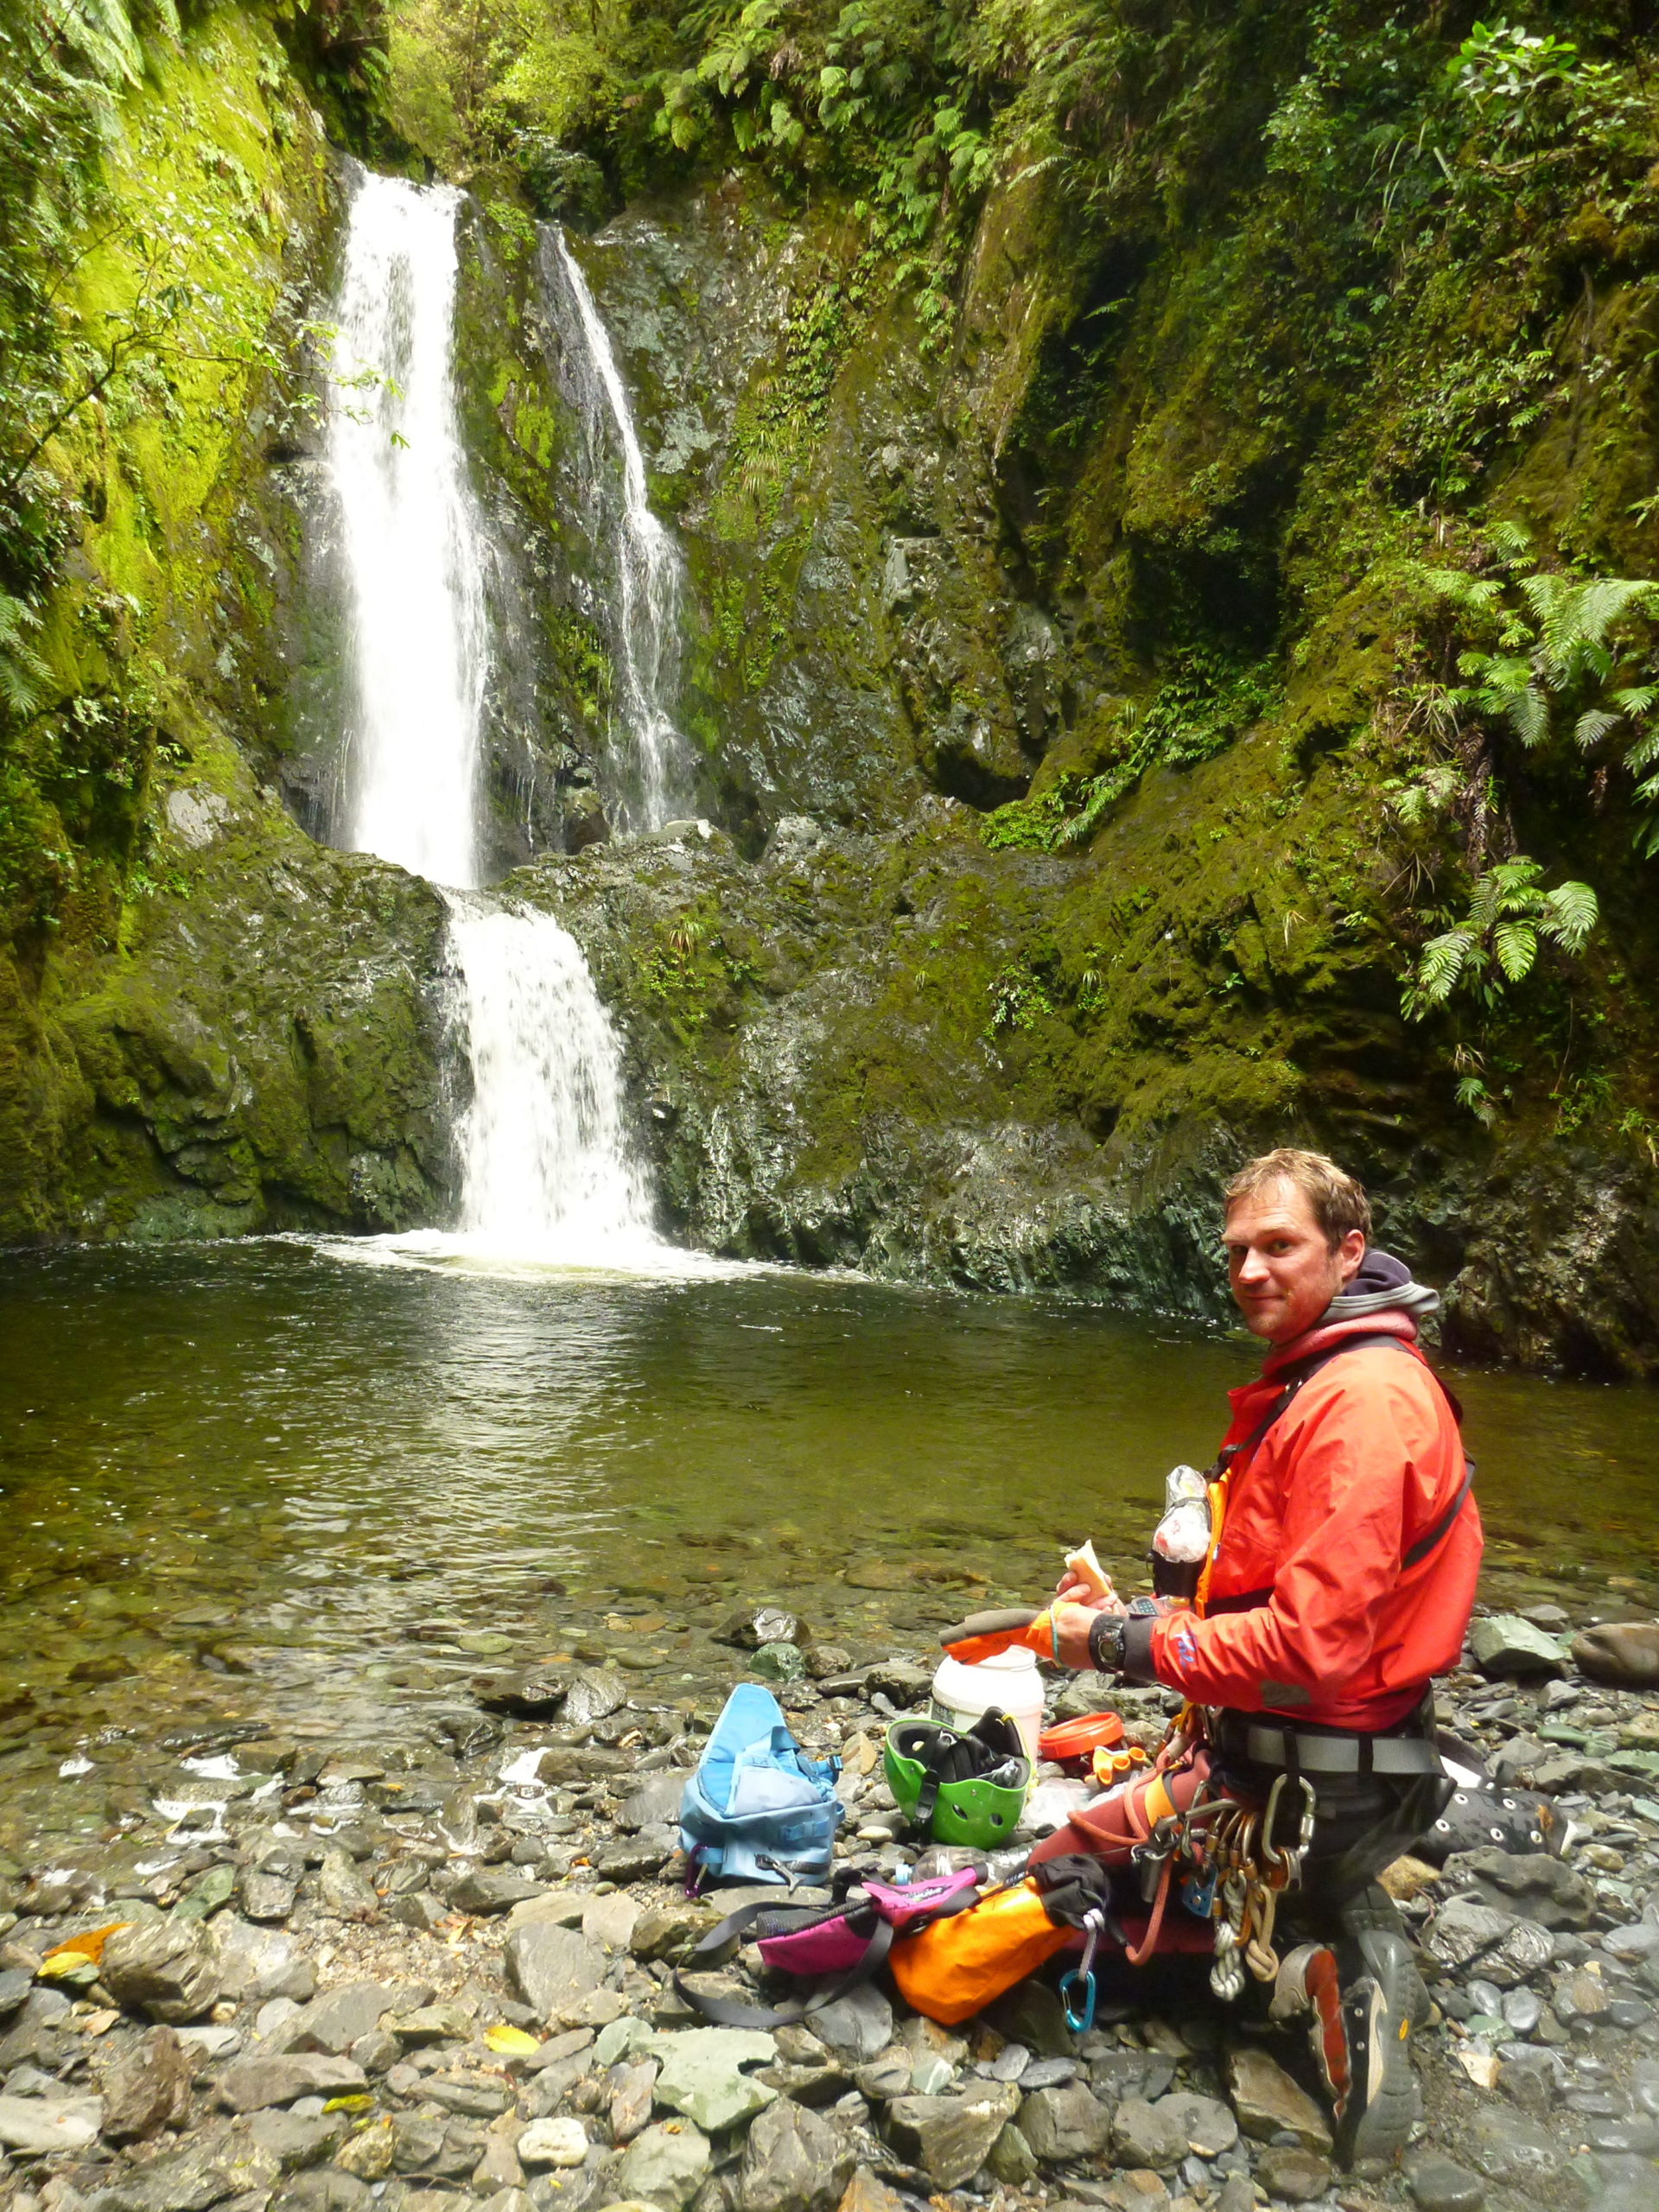
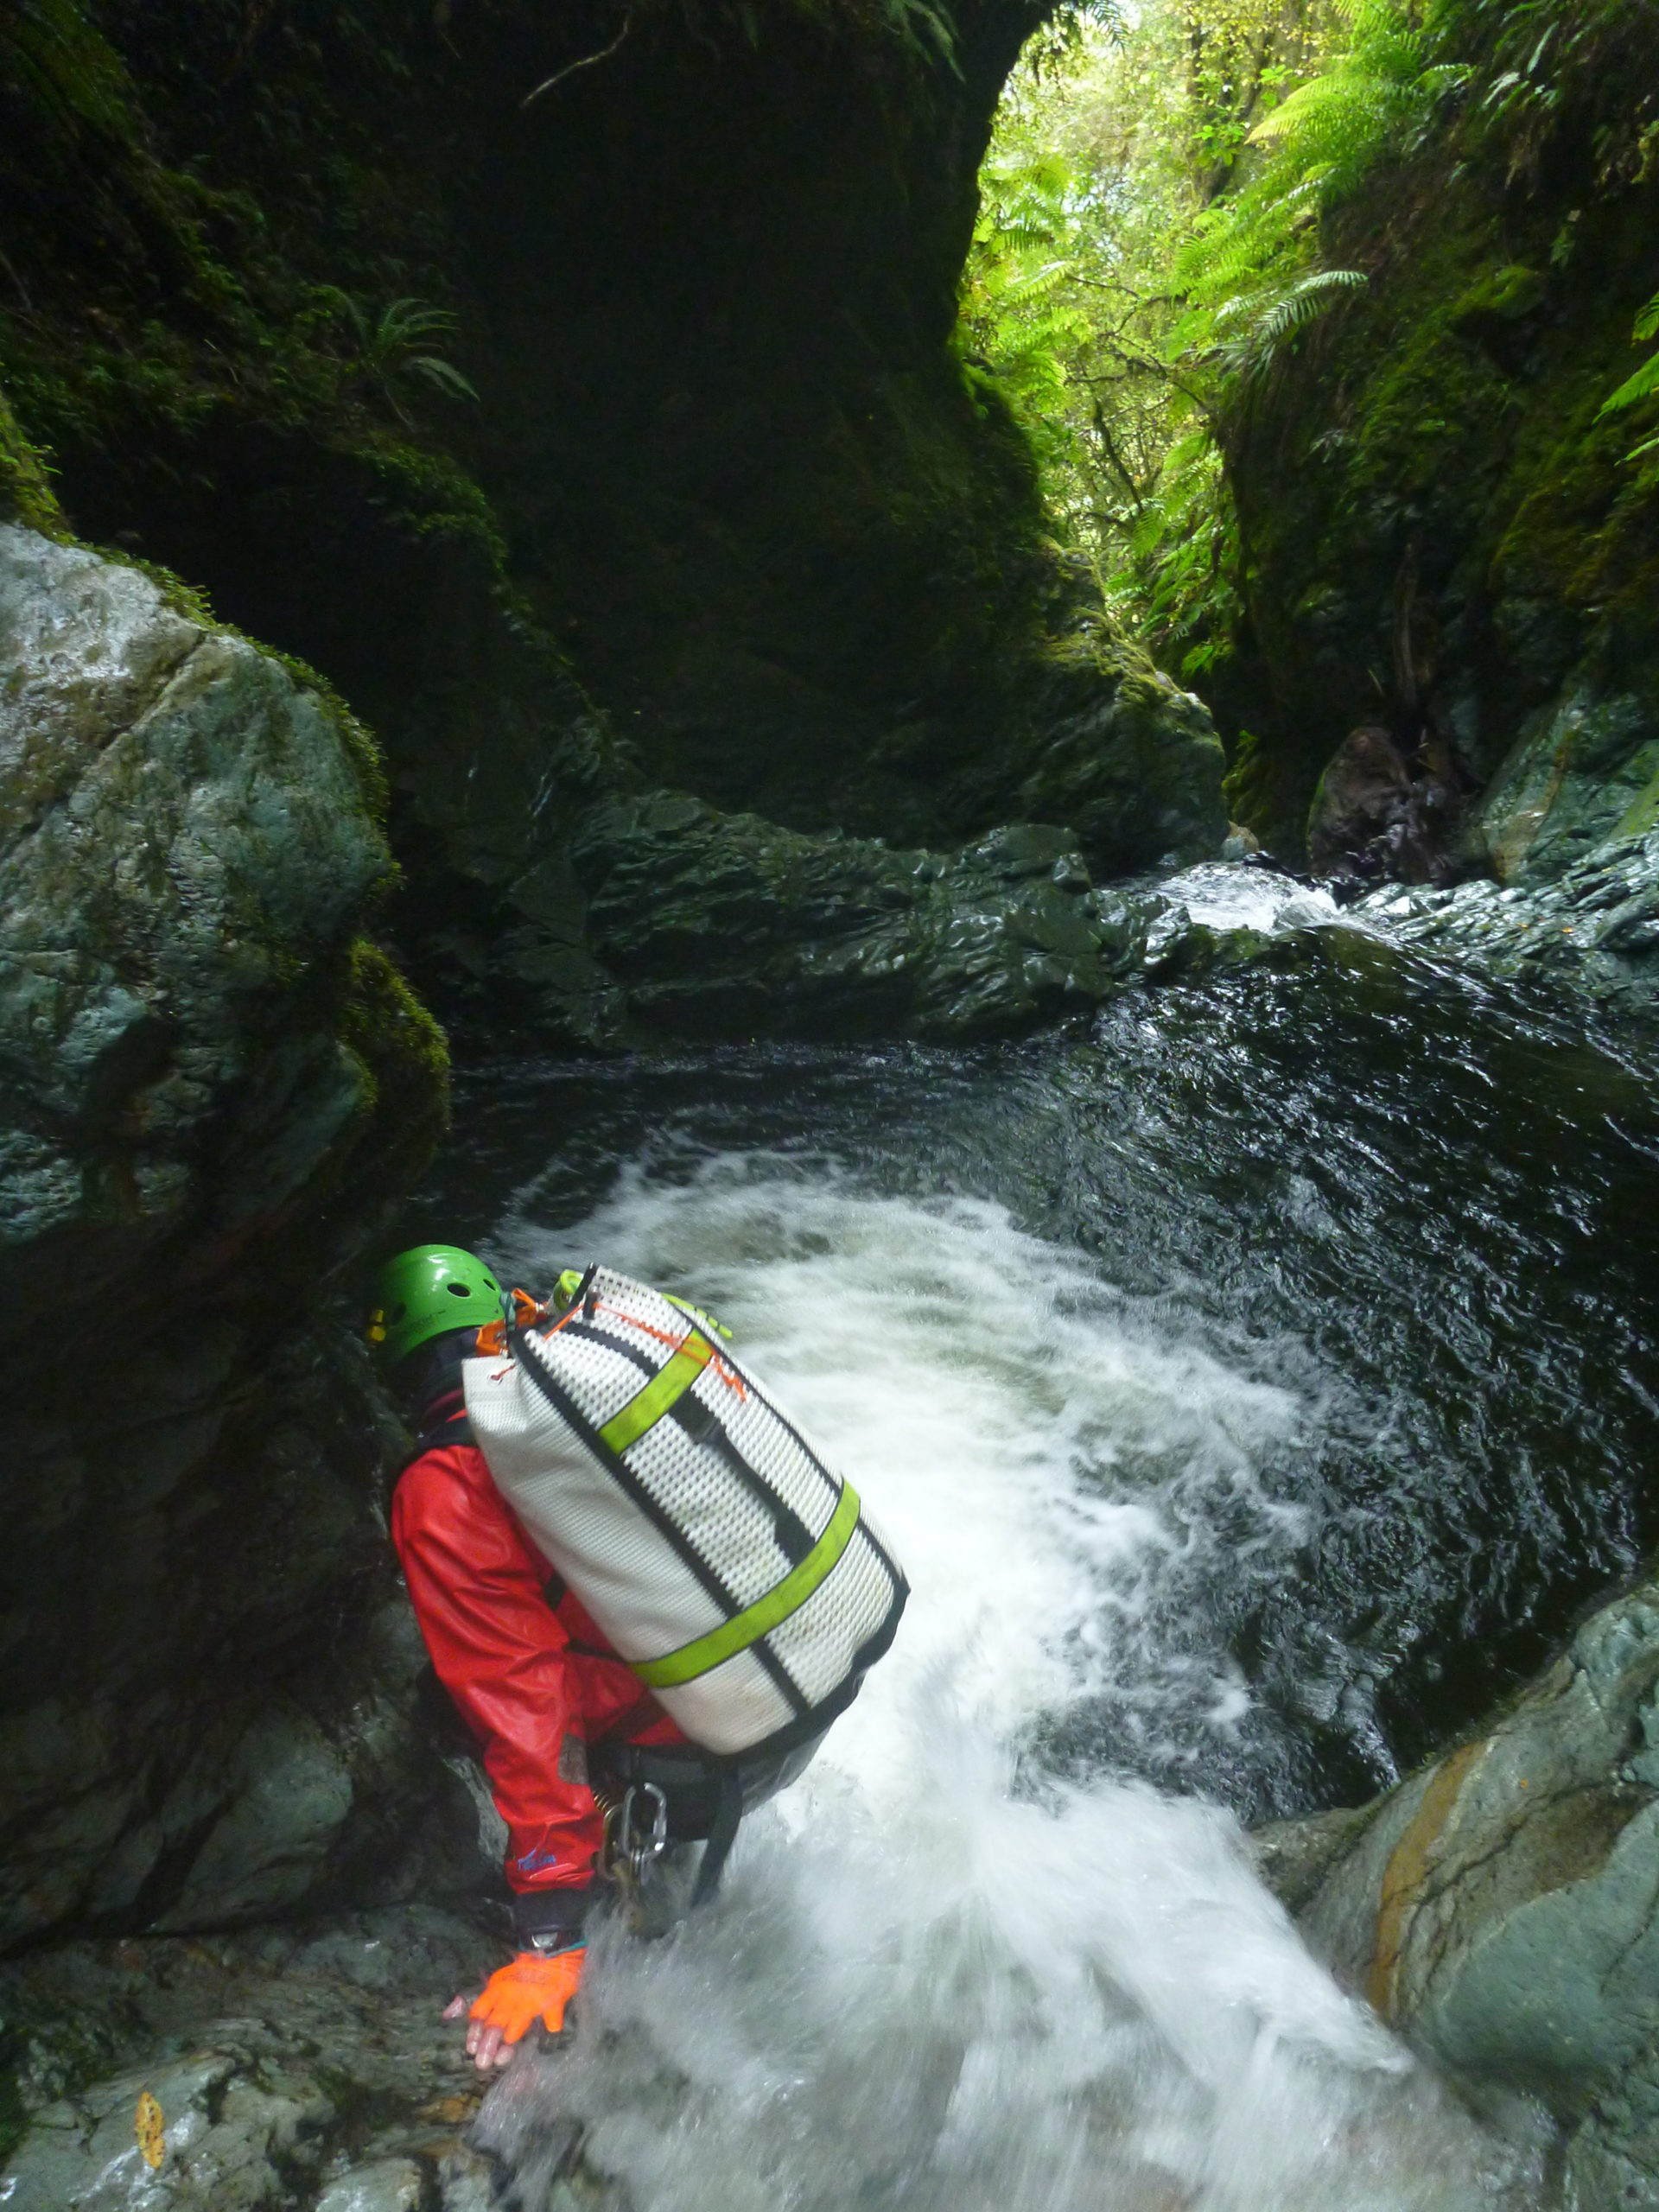
Anchors are usually placed well out of the flood zone: the Hollyford gets massive floods, so if you’re searching for an anchor, you might need to be looking a fair way up! Of note the anchors for the 20m pitch before the big falls are about 4m above the water on the TL, requiring a slightly exposed climb of the canyon walls (big holds but still slippery). This is the last escape point before the end.
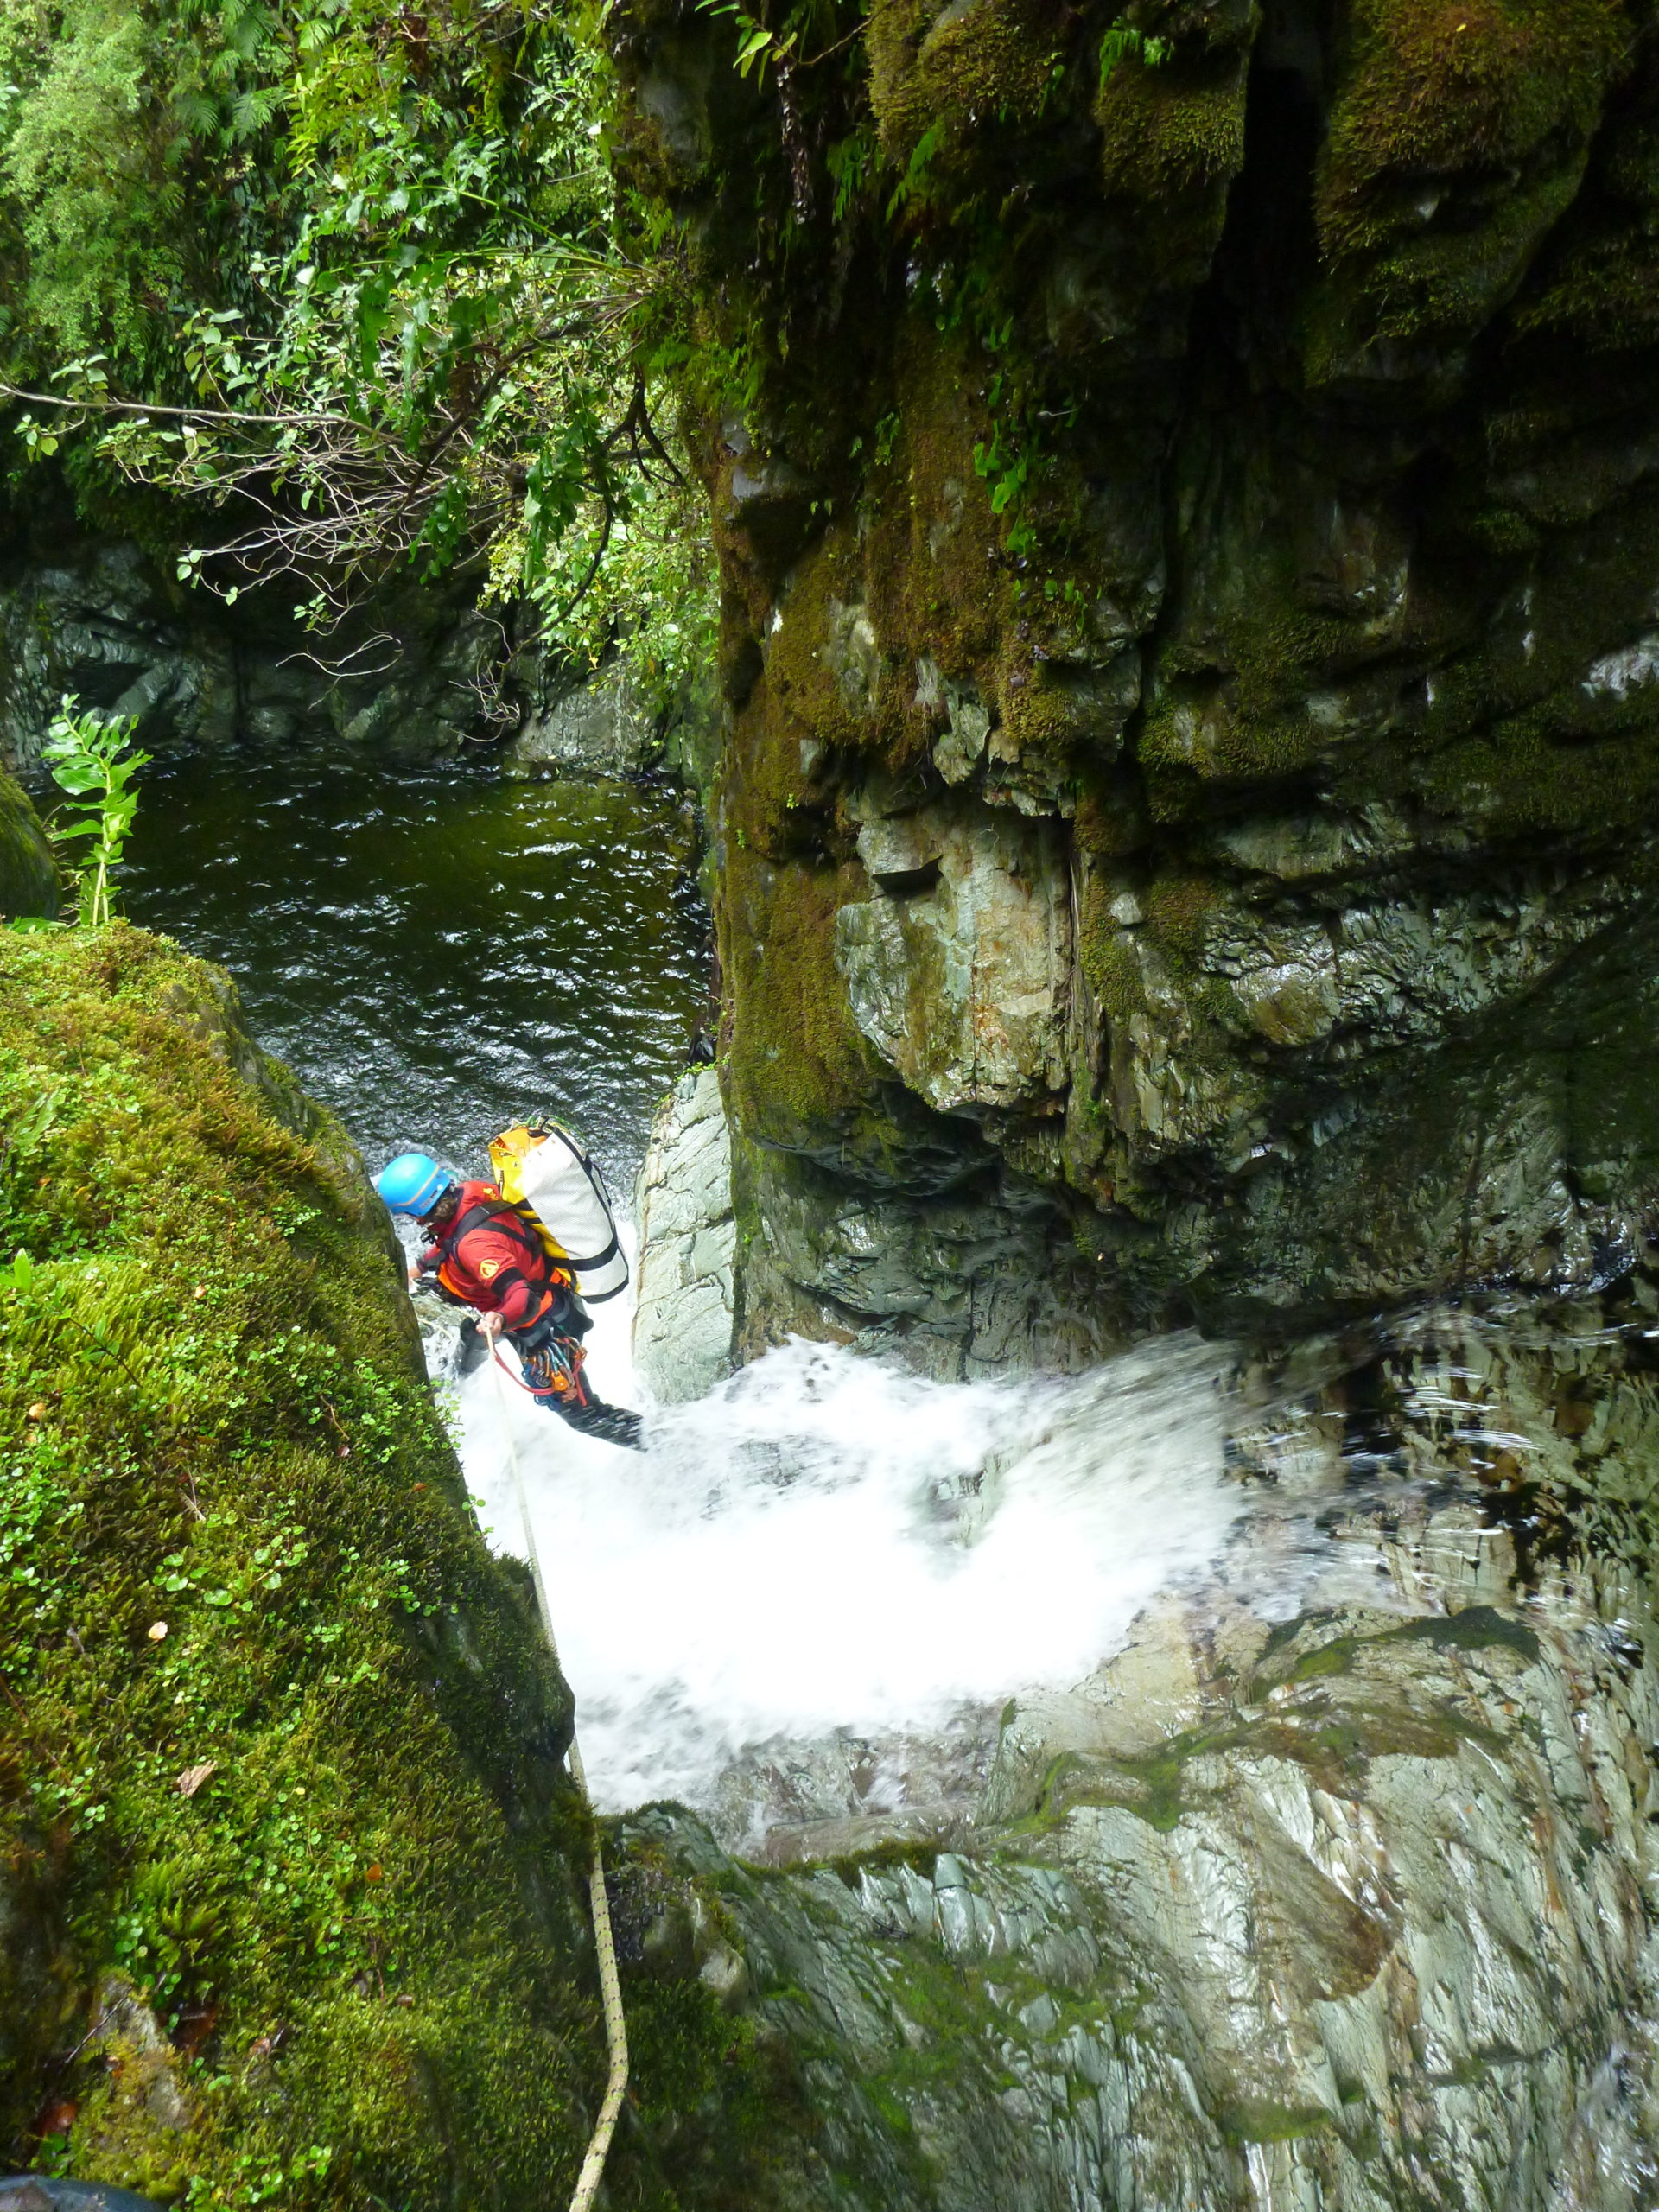
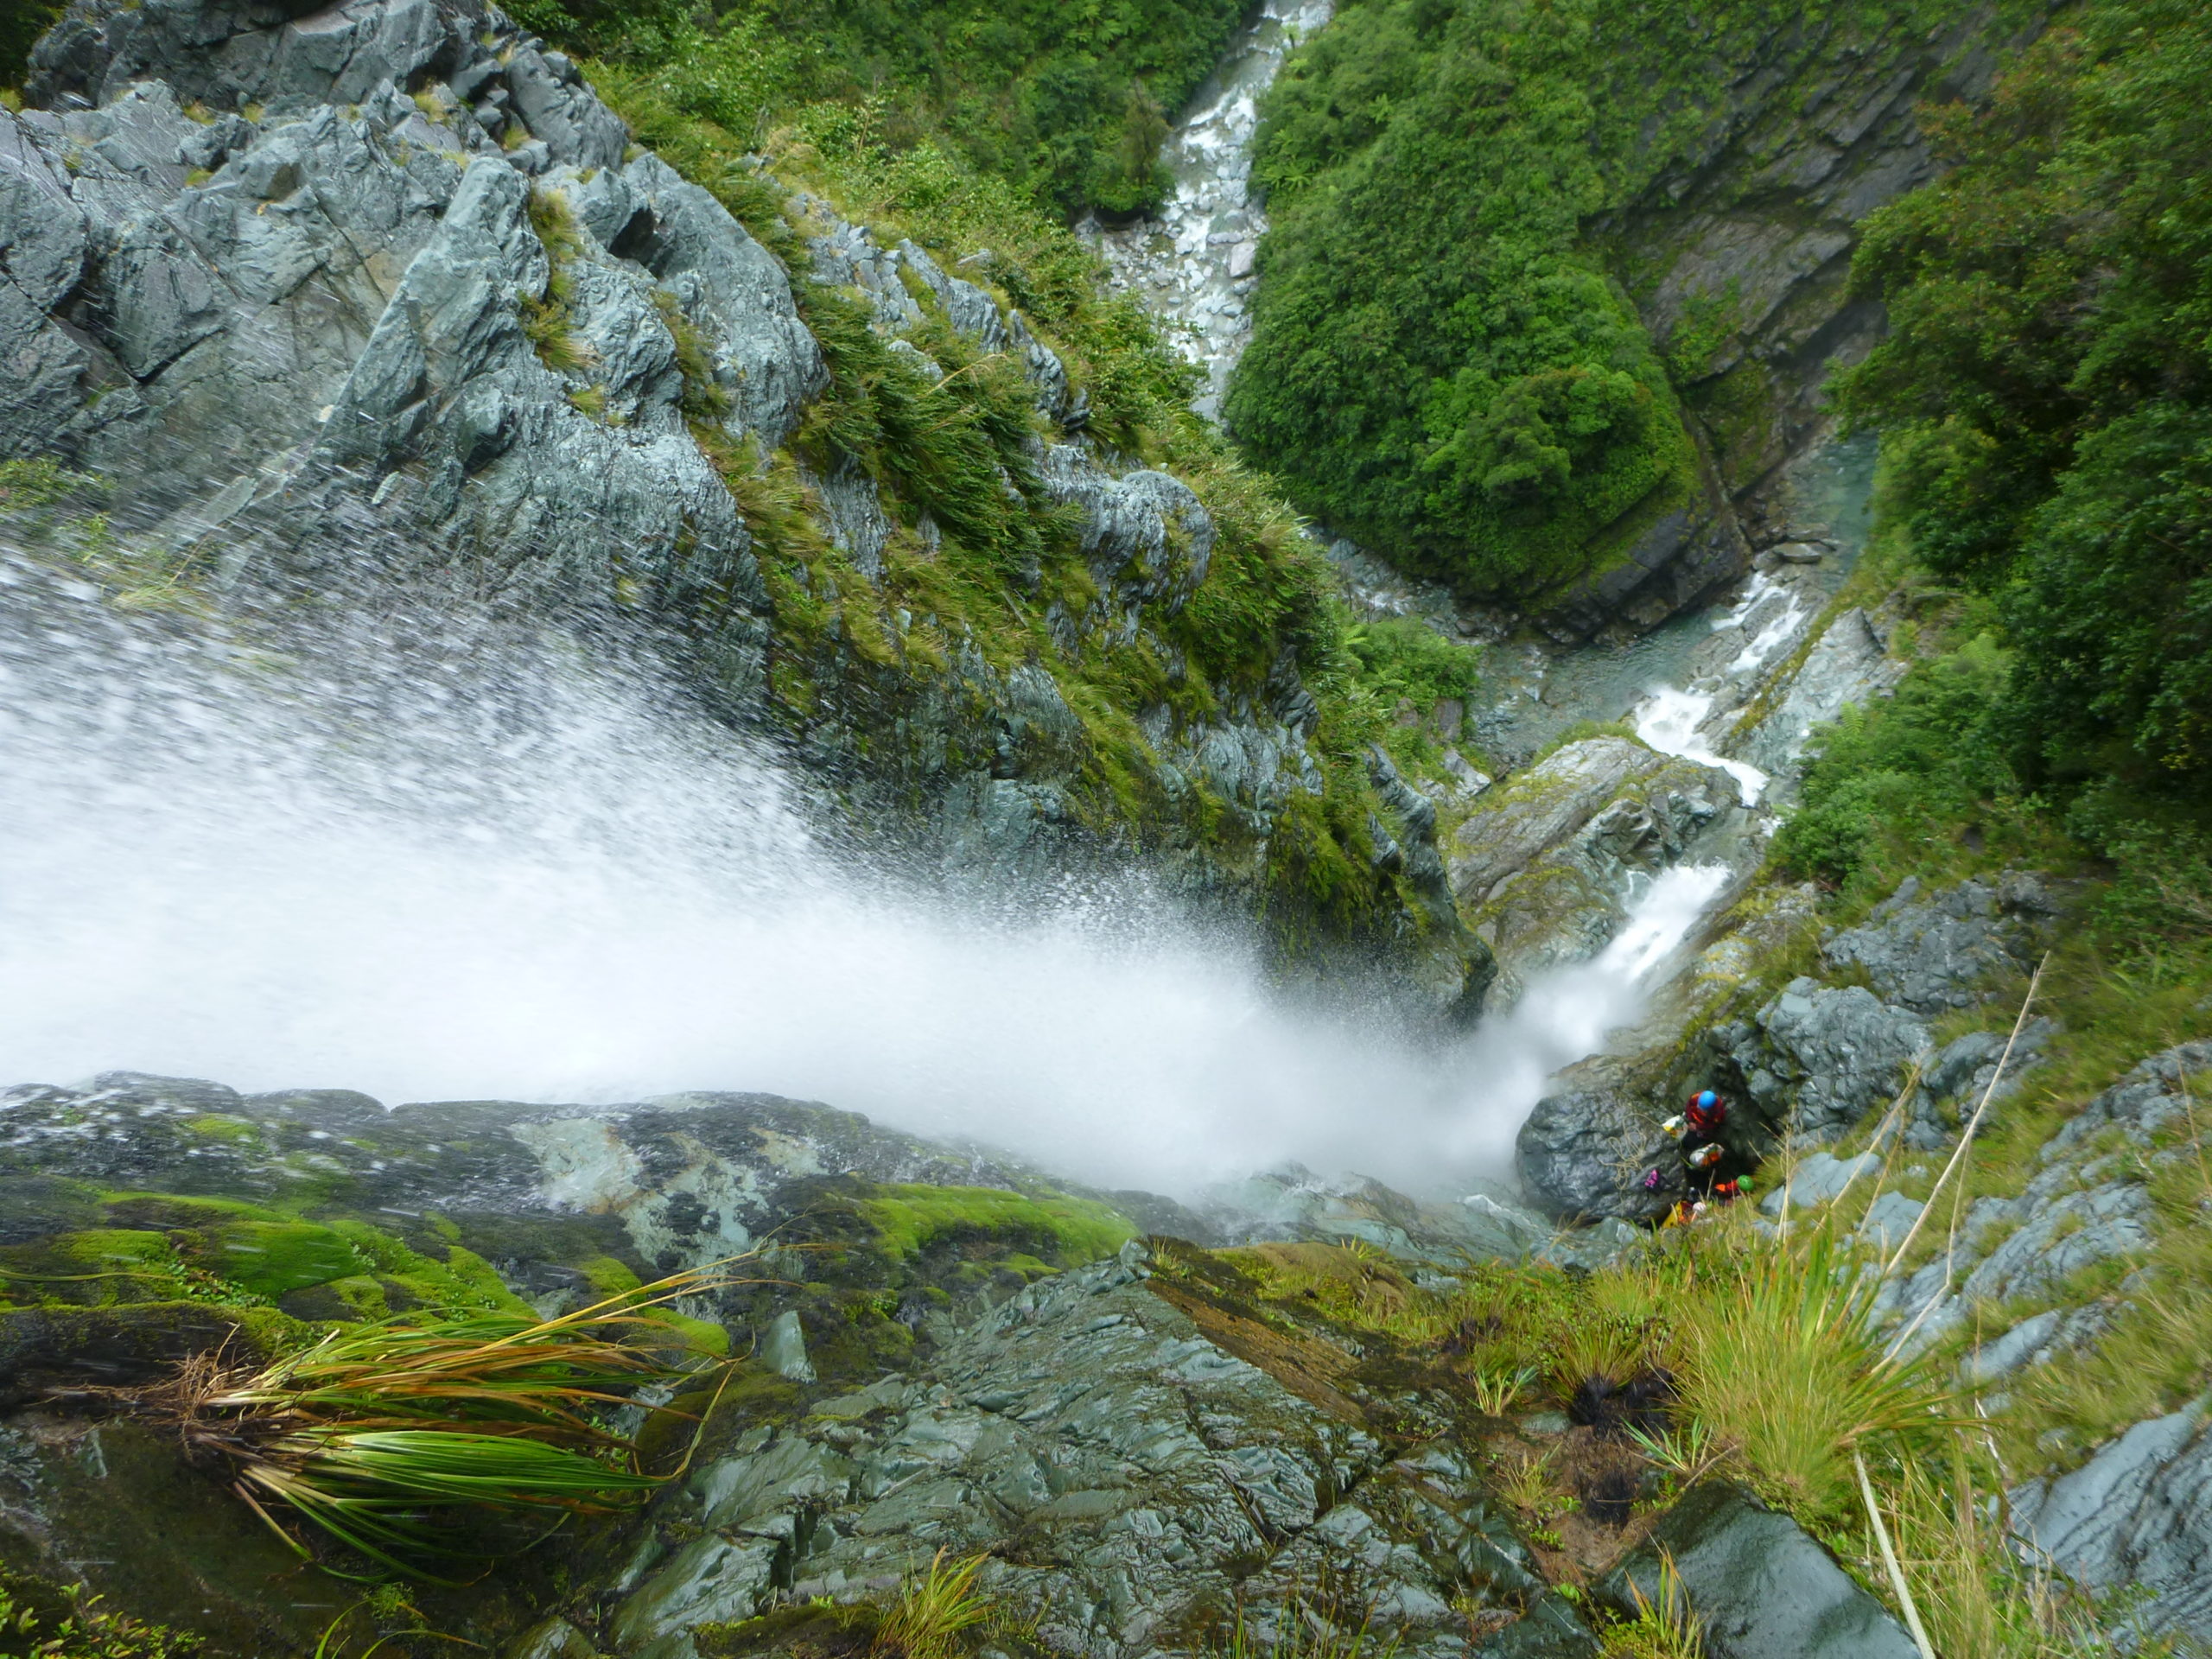
The big falls ~265m (in 6 or 7 pitches) v5
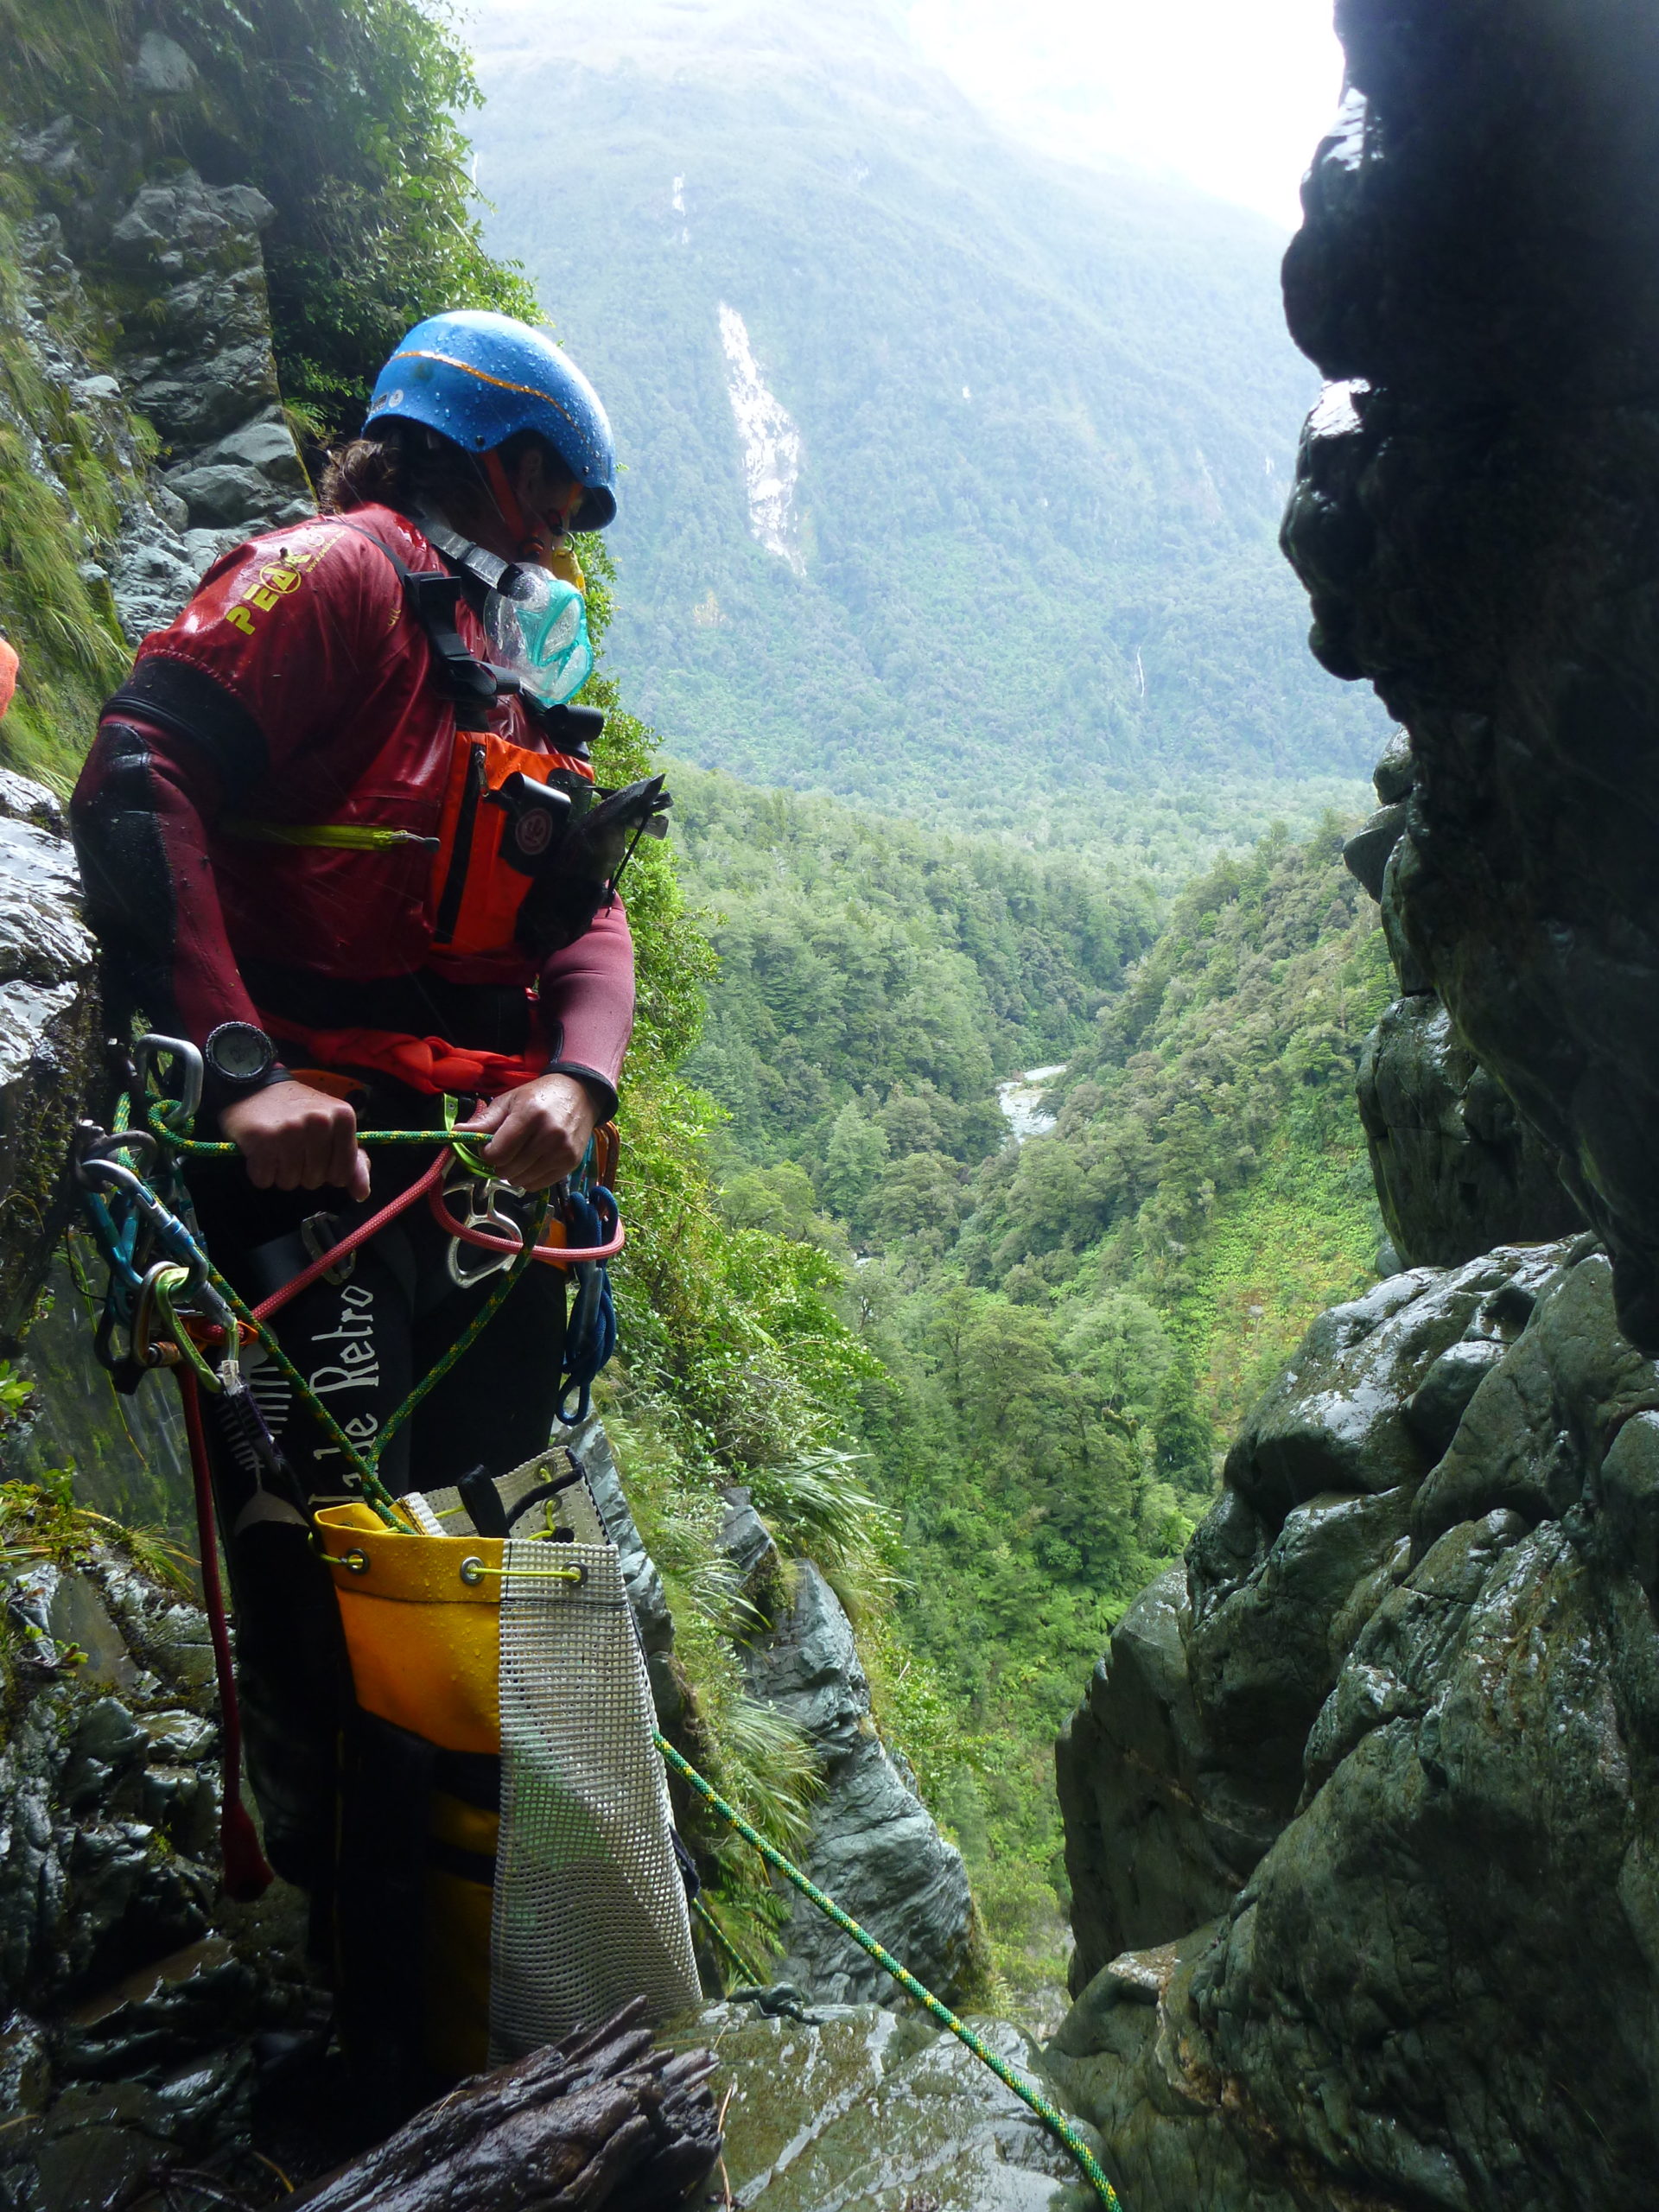
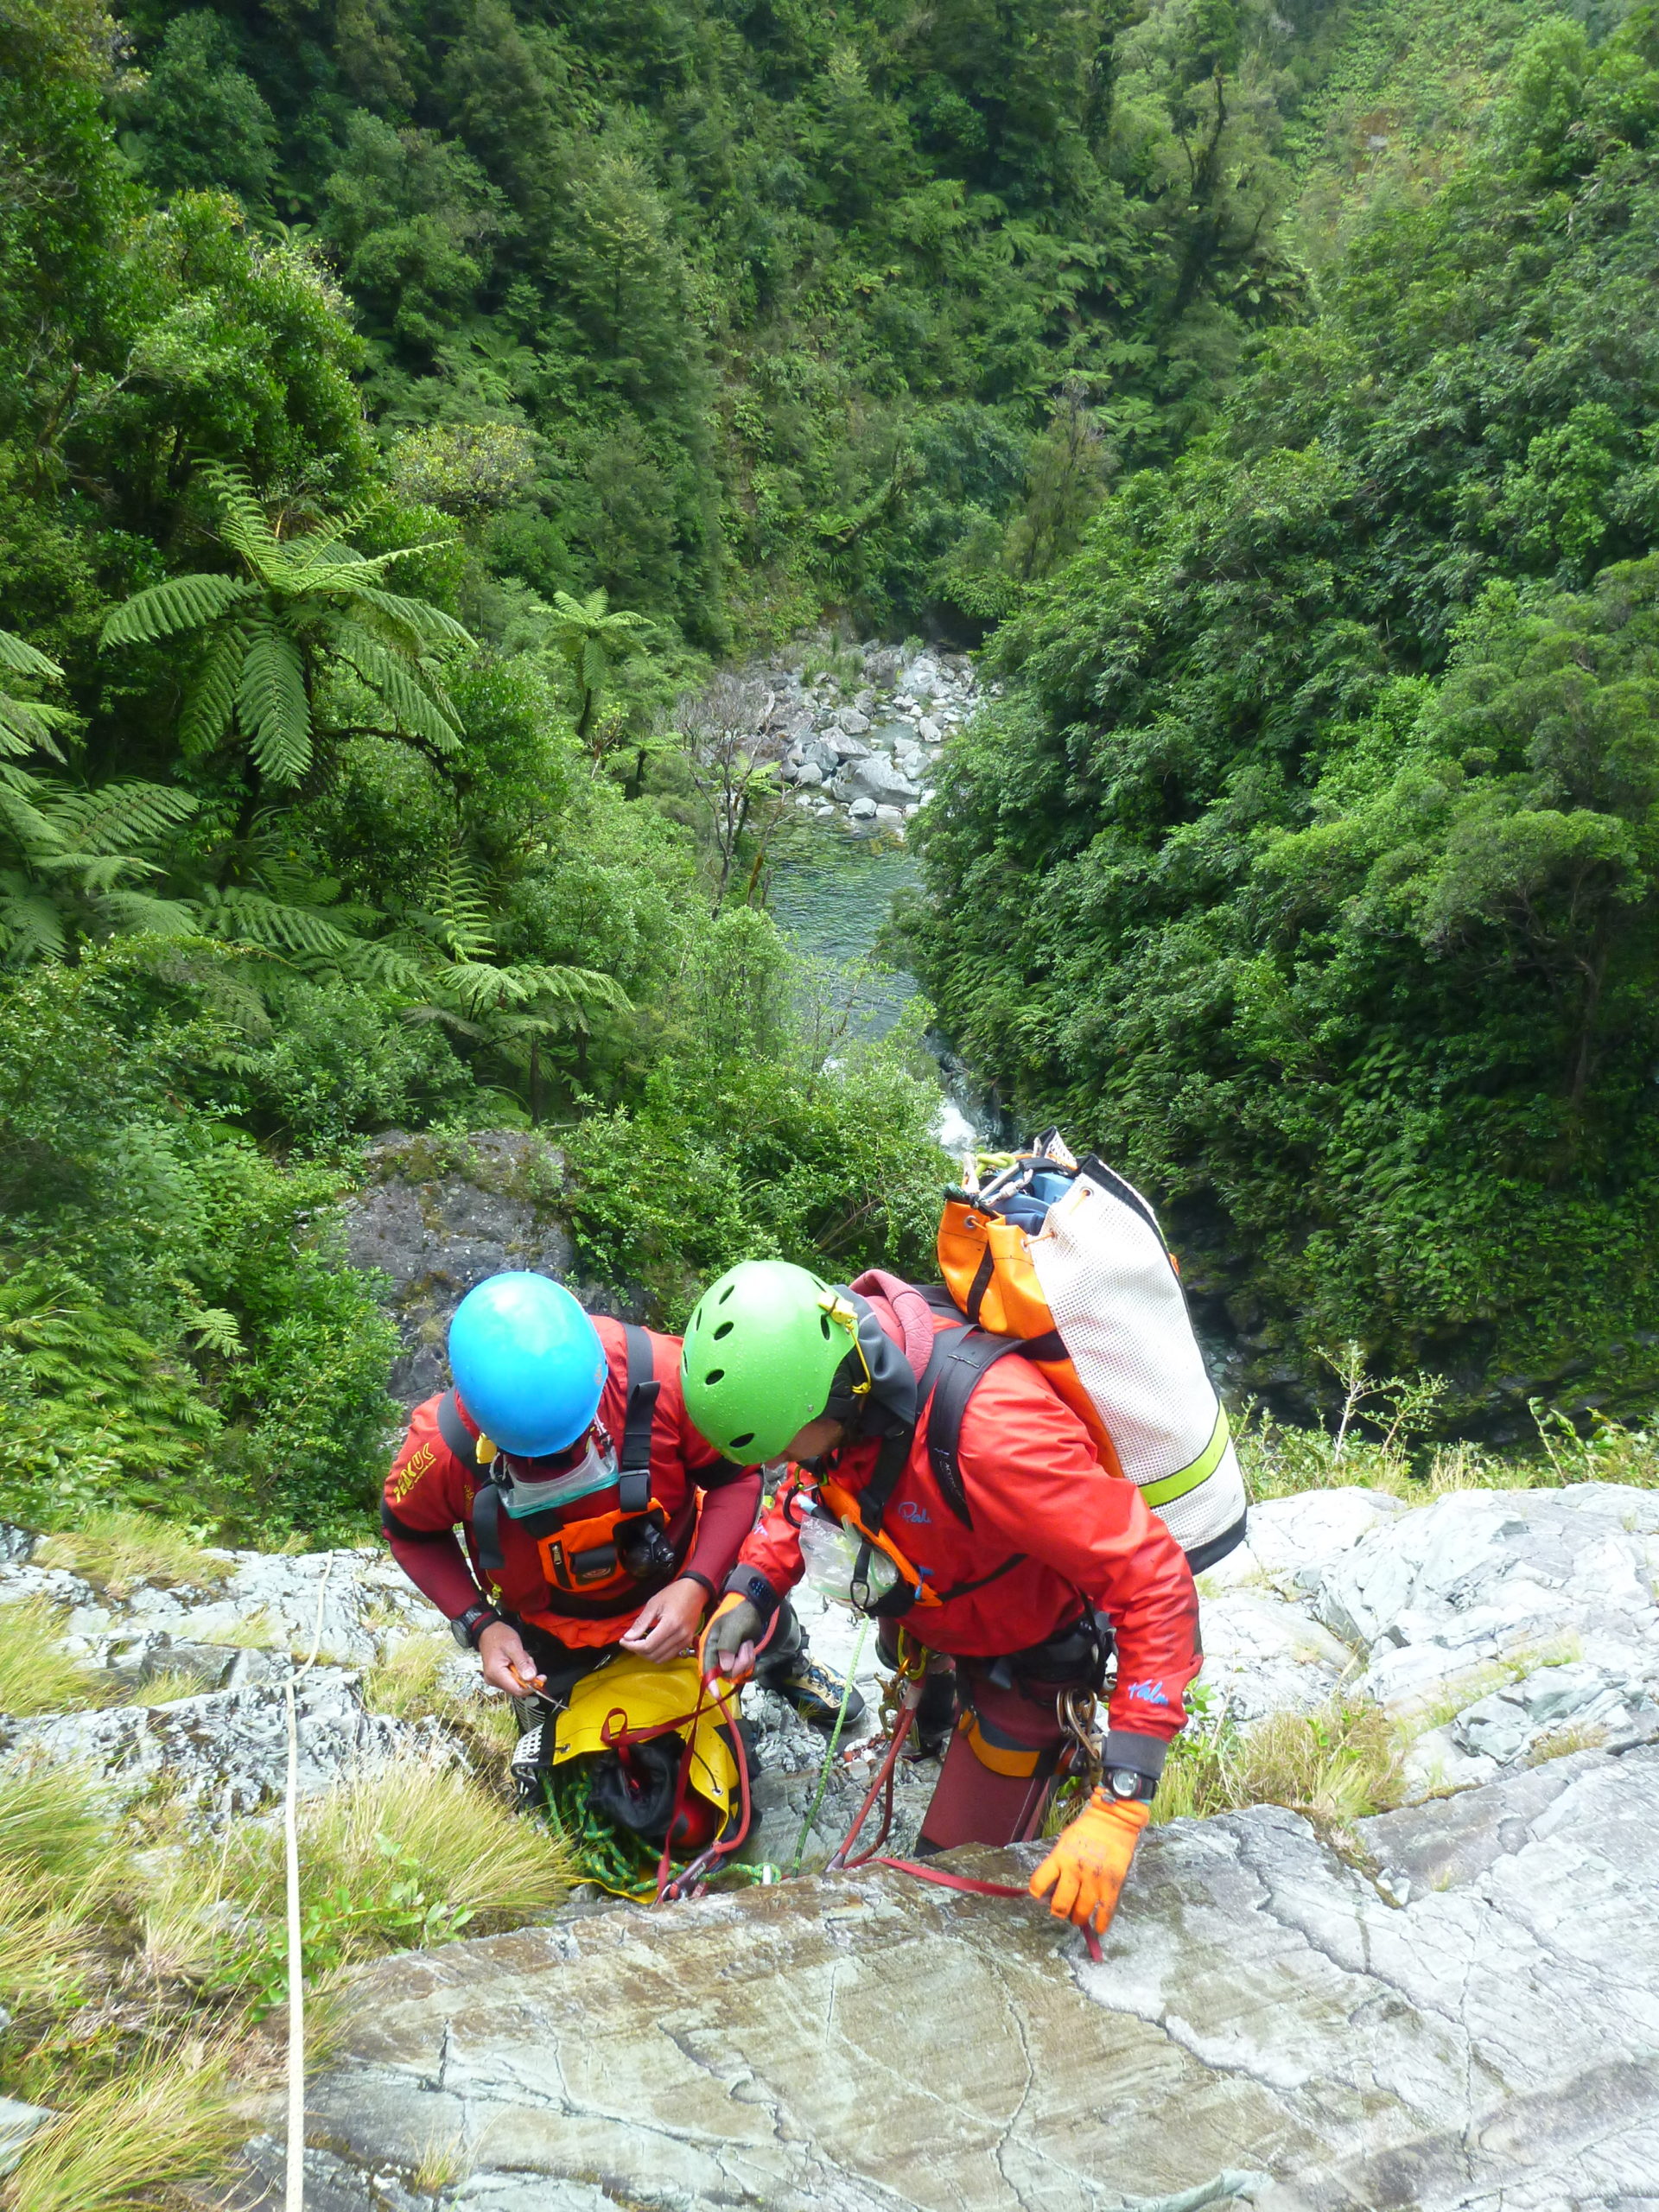
This is a serious and committing multi-pitch descent. It requires smart sequencing and very clean rigging at each re-belay. Ensure you have knots in the ends of your ropes, and consider self-belays for the leader when the pitches are dry.
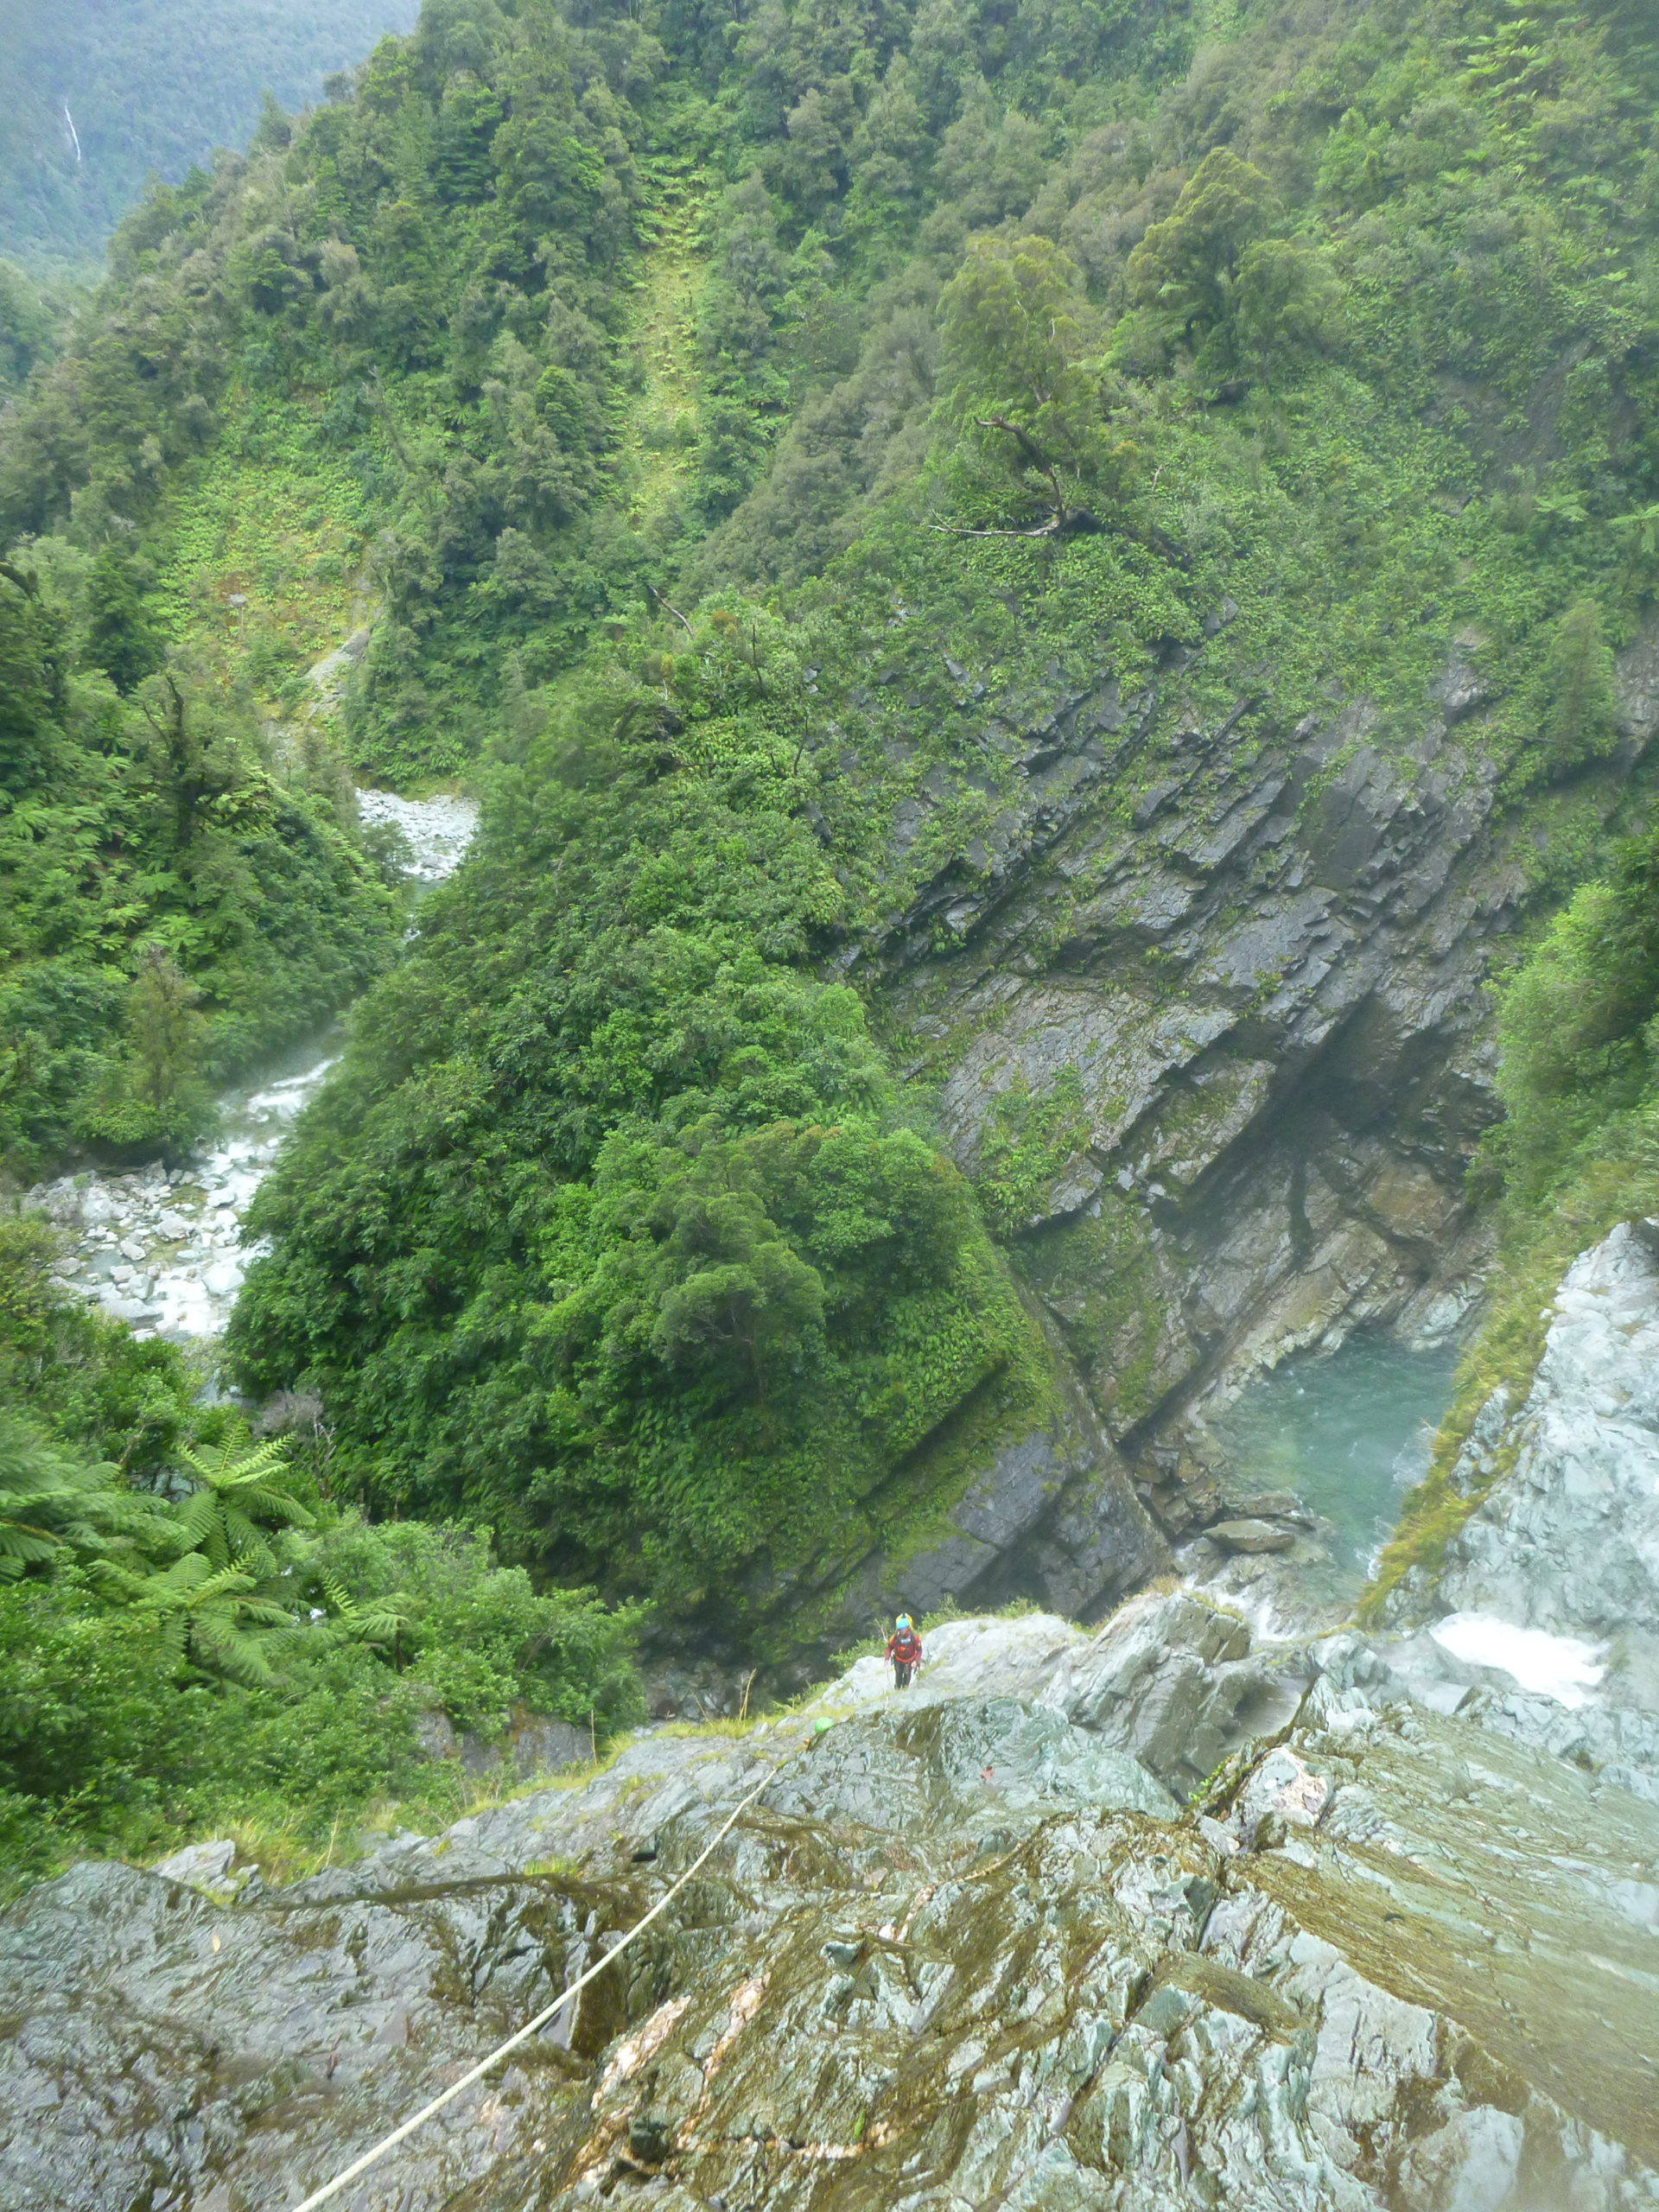
It is obvious when you arrive at the top of the big falls. The exposure is pretty breathtaking, as are the views across the Hollyford Valley to the Darran Mountains.
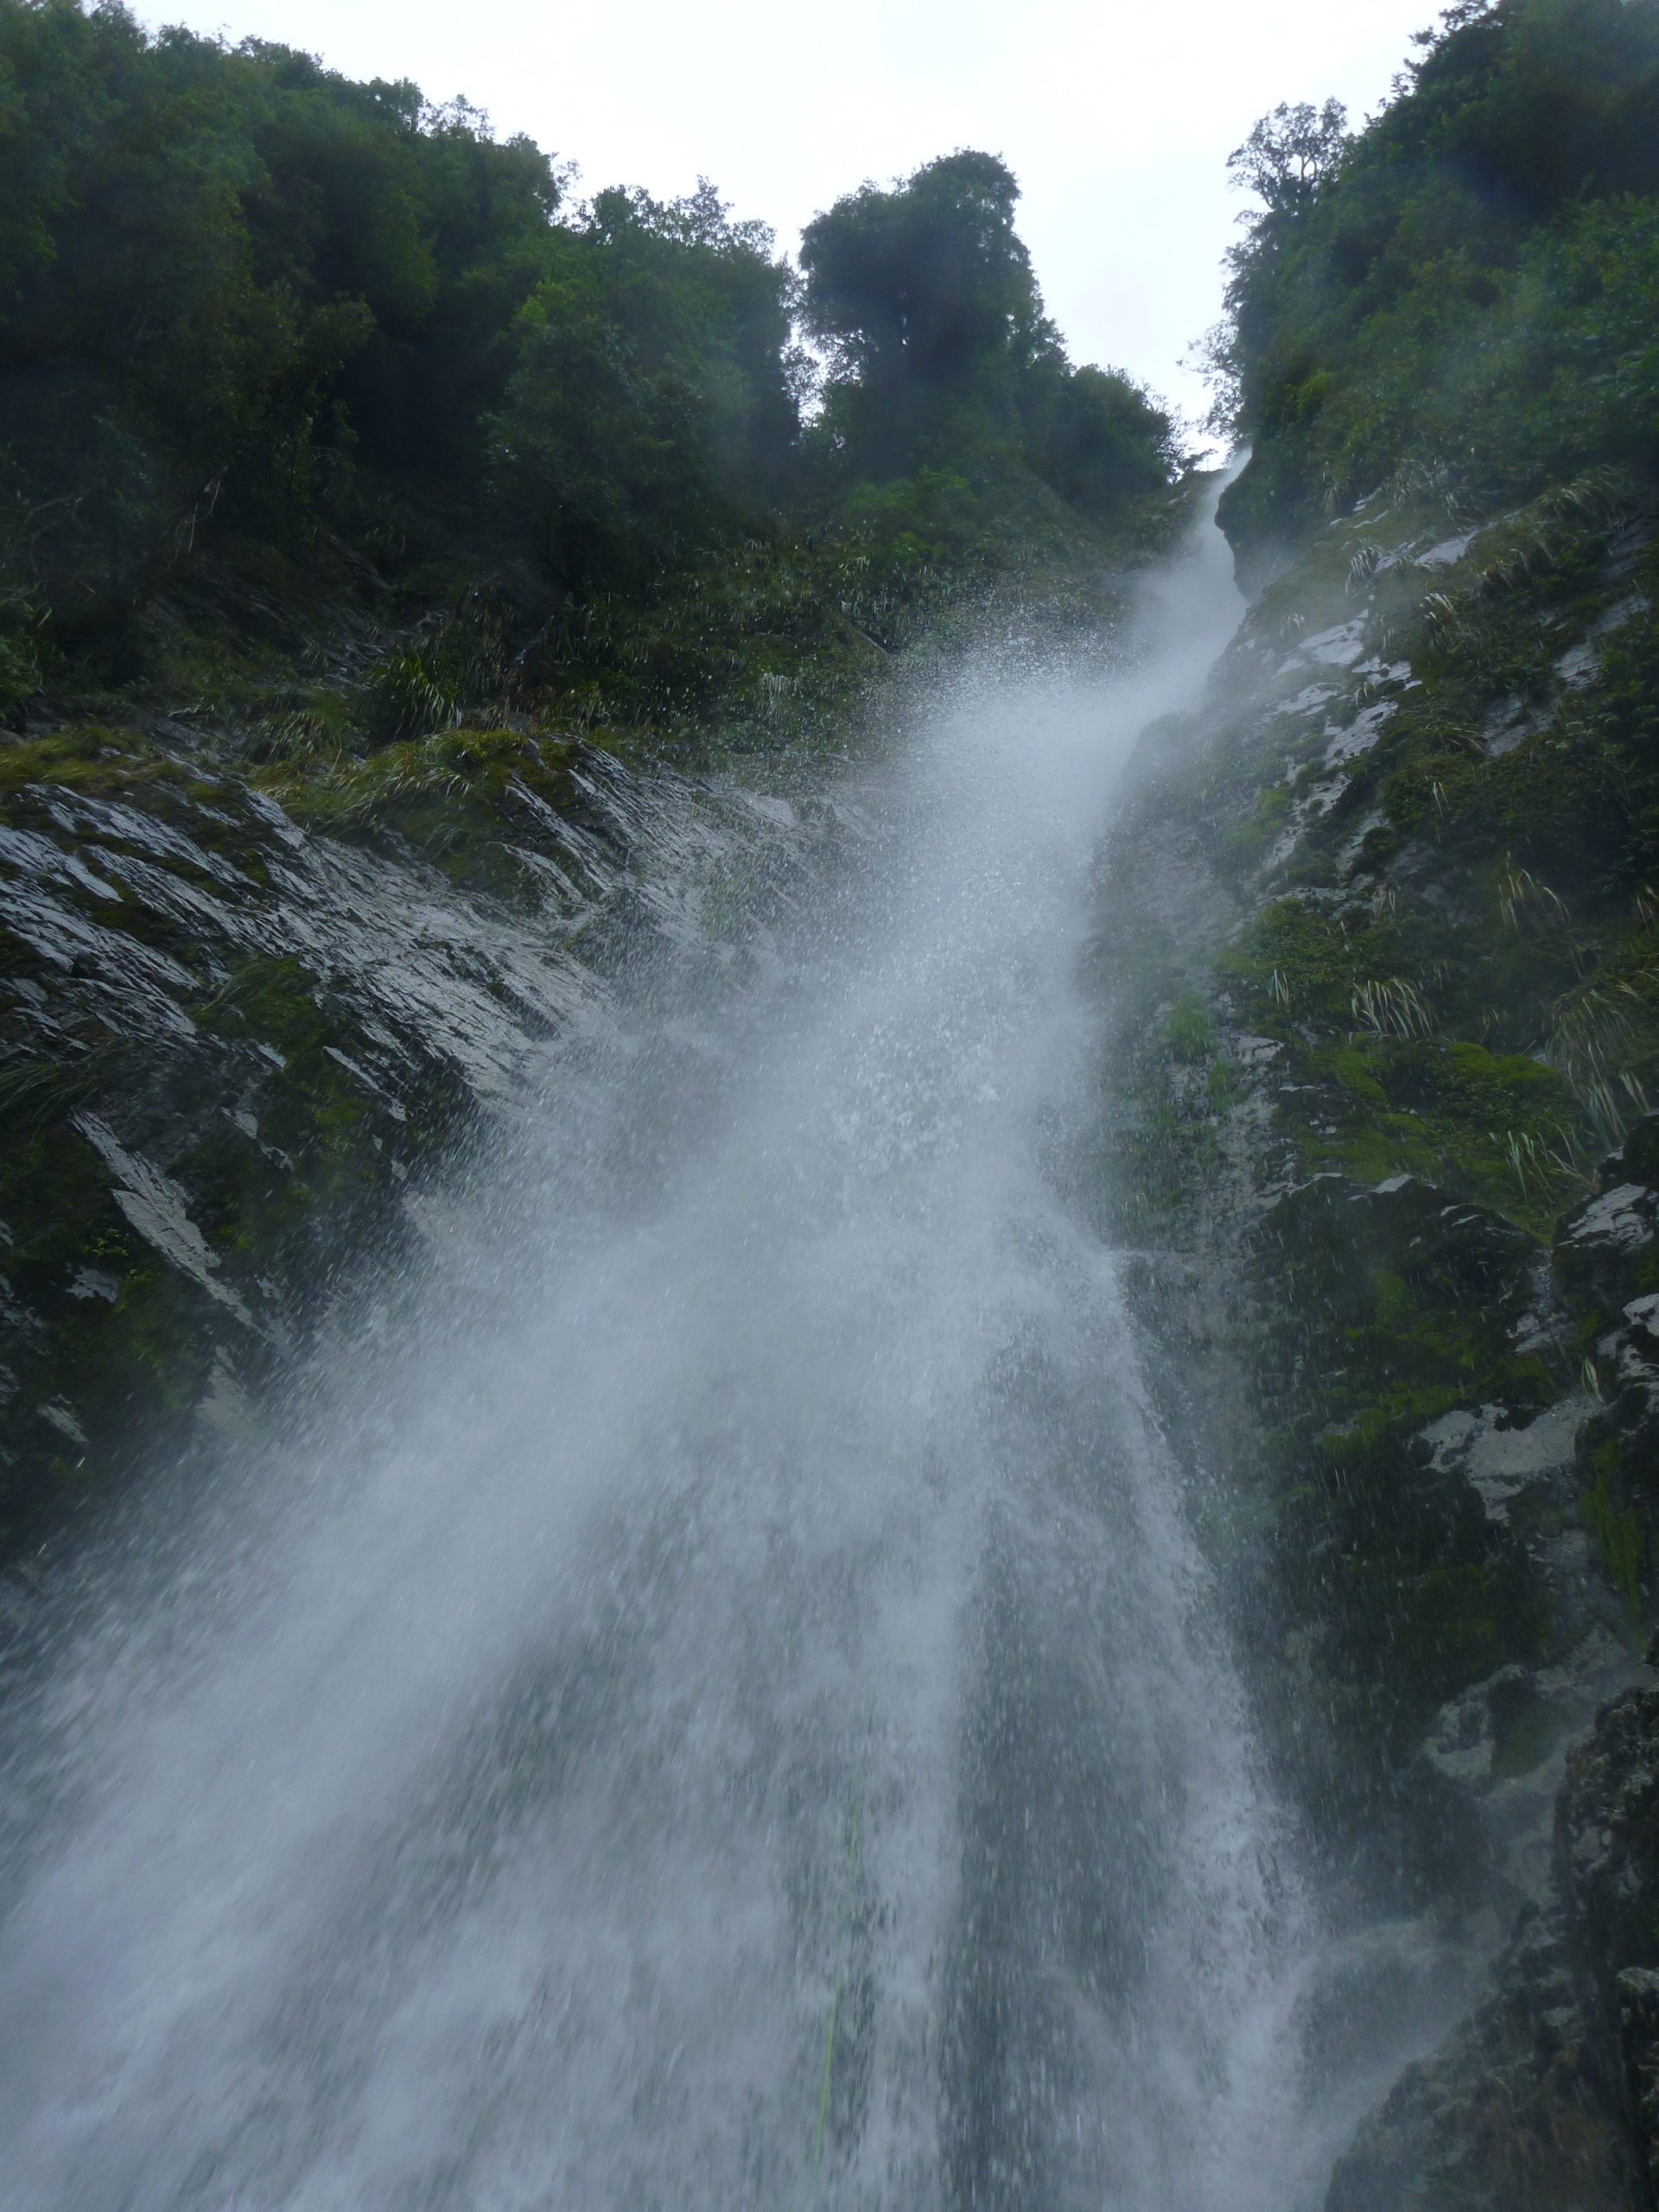
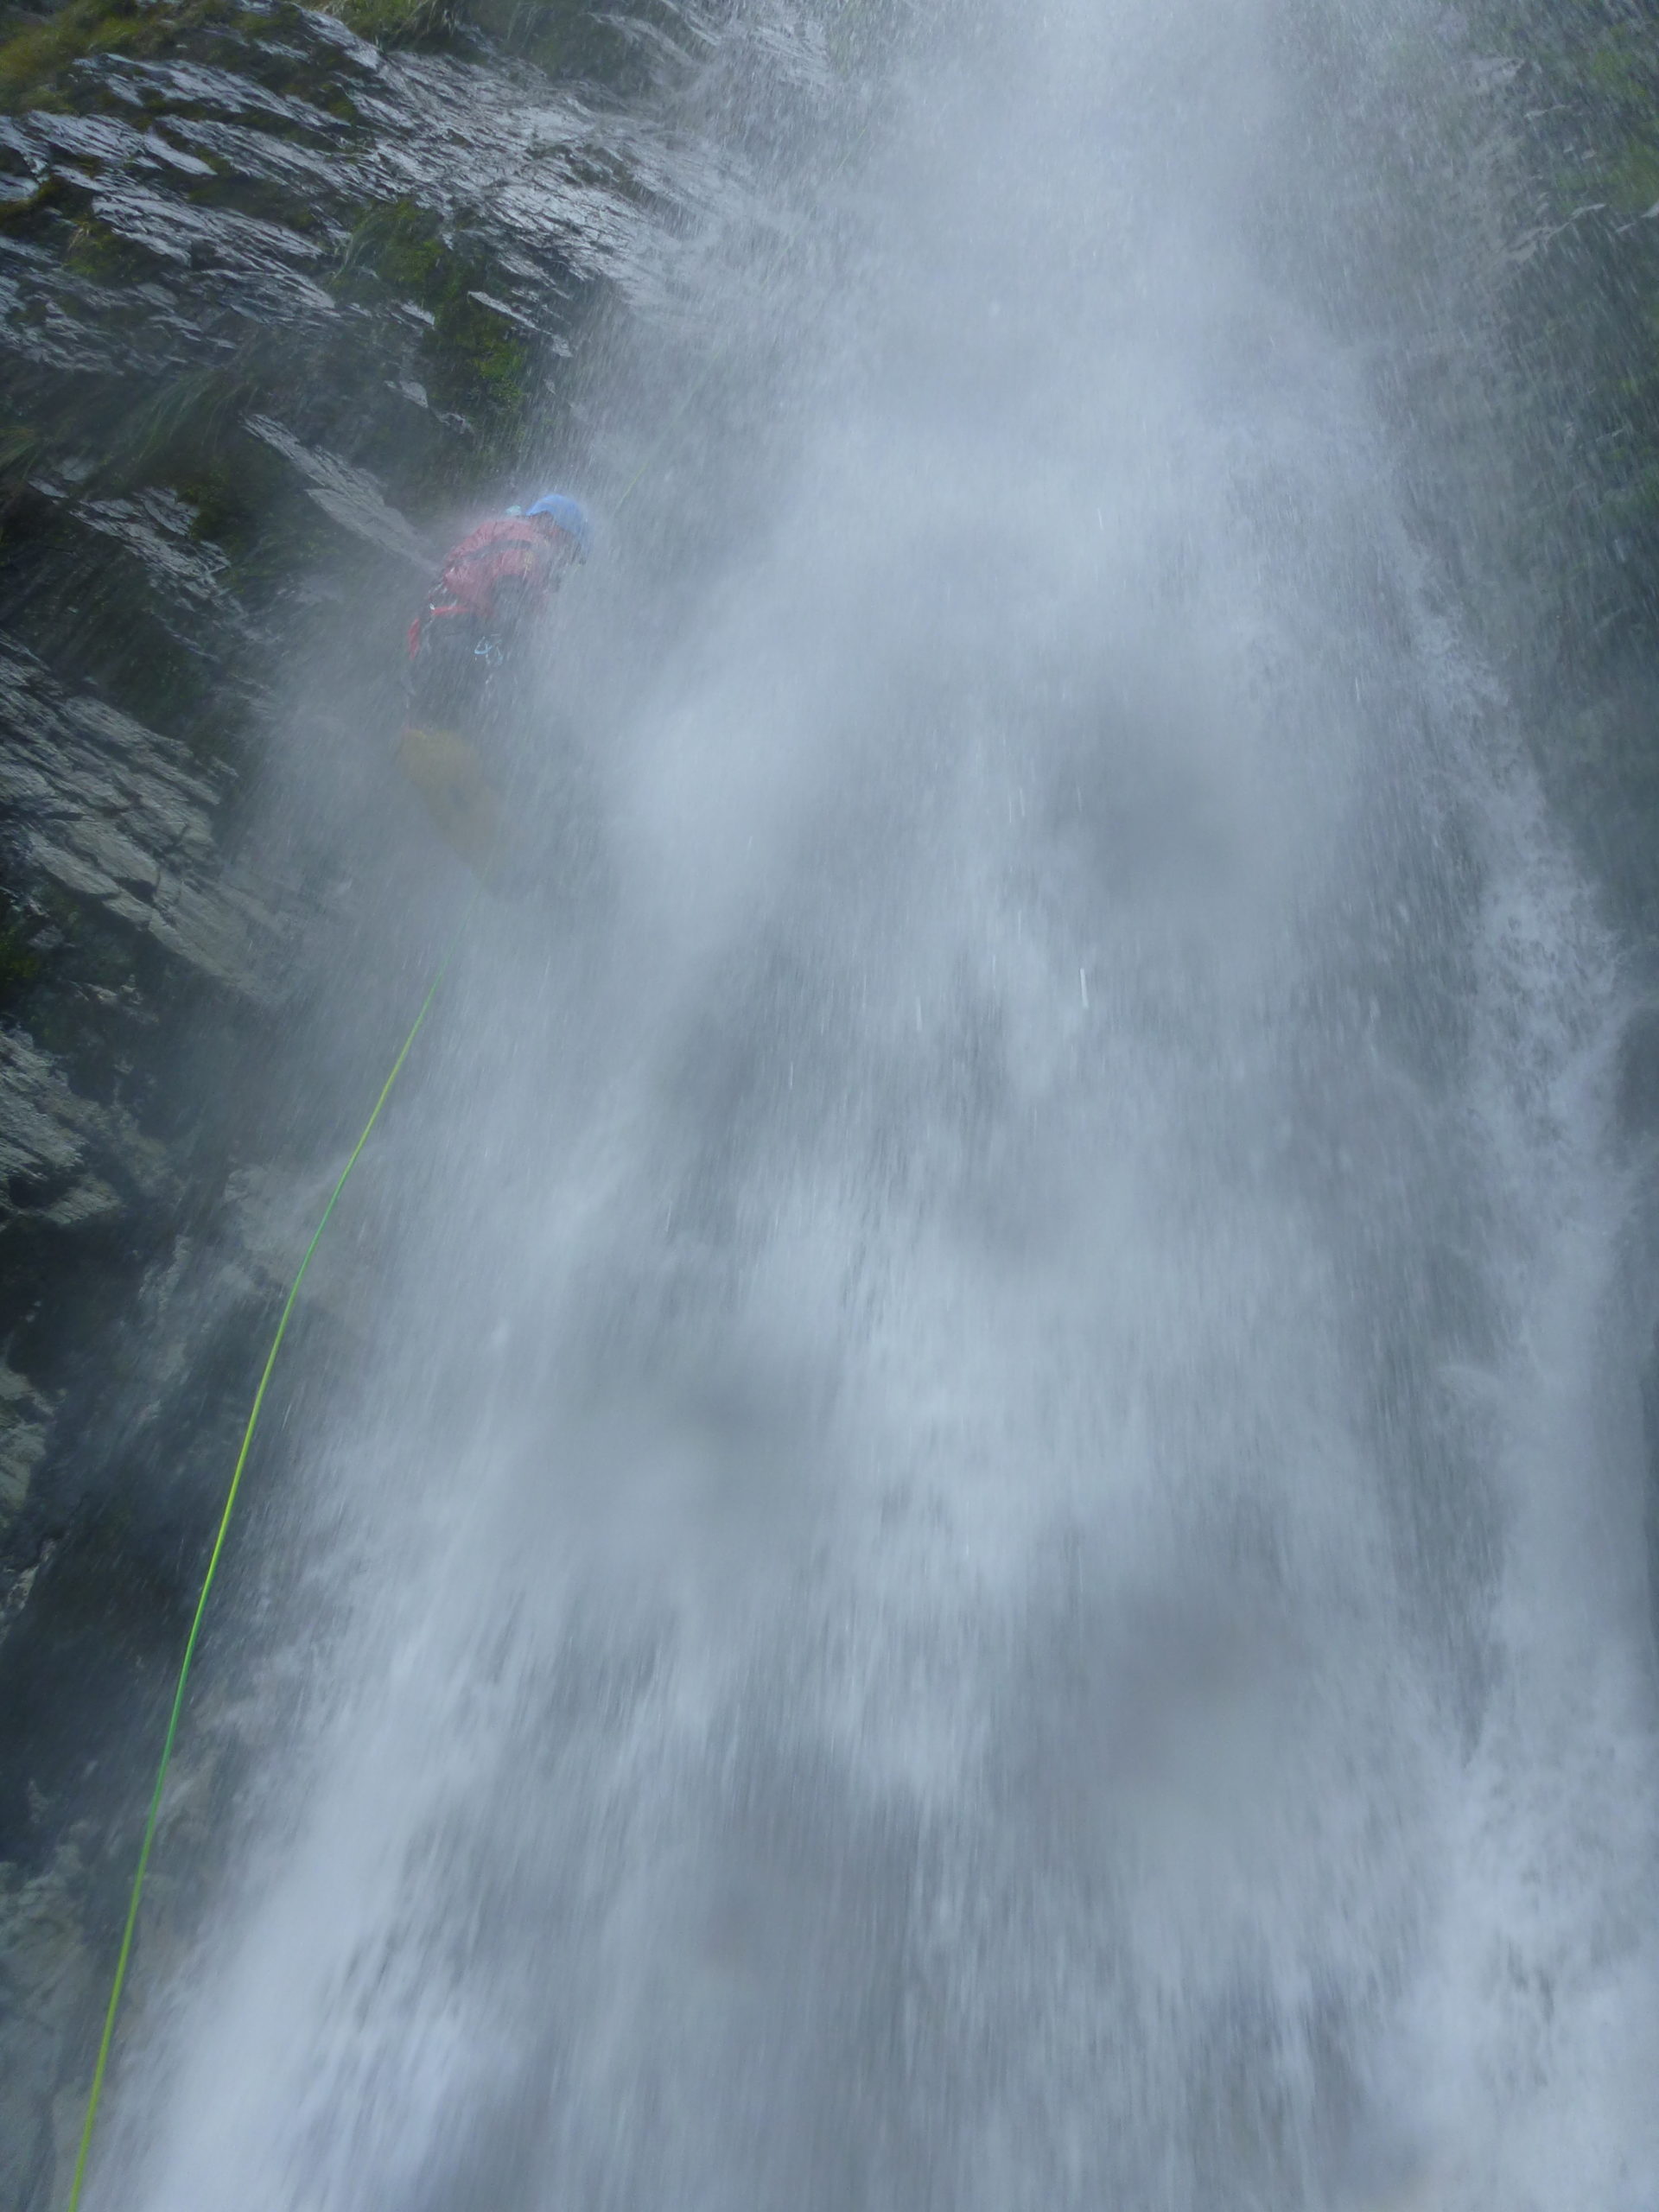
The first pitch (TL) is about 58m, and you’re in the flow for some of it.


The next pitch is 10m. It is from bolts hidden behind a fin of rock on the TL of the water, but still in the middle of the canyon. Use the obvious rock fin on the TR as a deviation to self-belay/abseil the 10m down to the next anchors at a nice stance on the TR.

The next pitch is about 52m and is mostly dry to the next re-belay at “the boulder” on the TR.
There are bolts on the downstream face of ‘the boulder’ (which are old 8mm with 2x ring hangers) and two newer 10mm ring hangers on the TR wall. The newer bolts have a rope sticking pinch to manage: the older bolts give a better pull down.. Choose wisely…
This is the point where having a 70m is useful… From the boulder, rap down and get a bit of a pounding in the waterfall about 3/4 the way down. Keep going to where the waterfall momentarily flattens out: roughly 65m from the boulder. You’re looking for a spot where you can traverse quite easily to a flattish bit of bedrock on the TL, where the next bolts are hidden, facing down-stream away from any flood hazard. Expect to be very close to the end of your 70m rope: ie, tie a BFK in the end to avoid rappelling off the rope…
If you have only 60m ropes, head down on a dry pitch about 25m to a pair of bolts at a semi-hanging rebelay on the face. These are more exposed to rockfalls or major floods, so it’d be wise to have a drill in case they are gone. Continue the remaining 45m as described above.

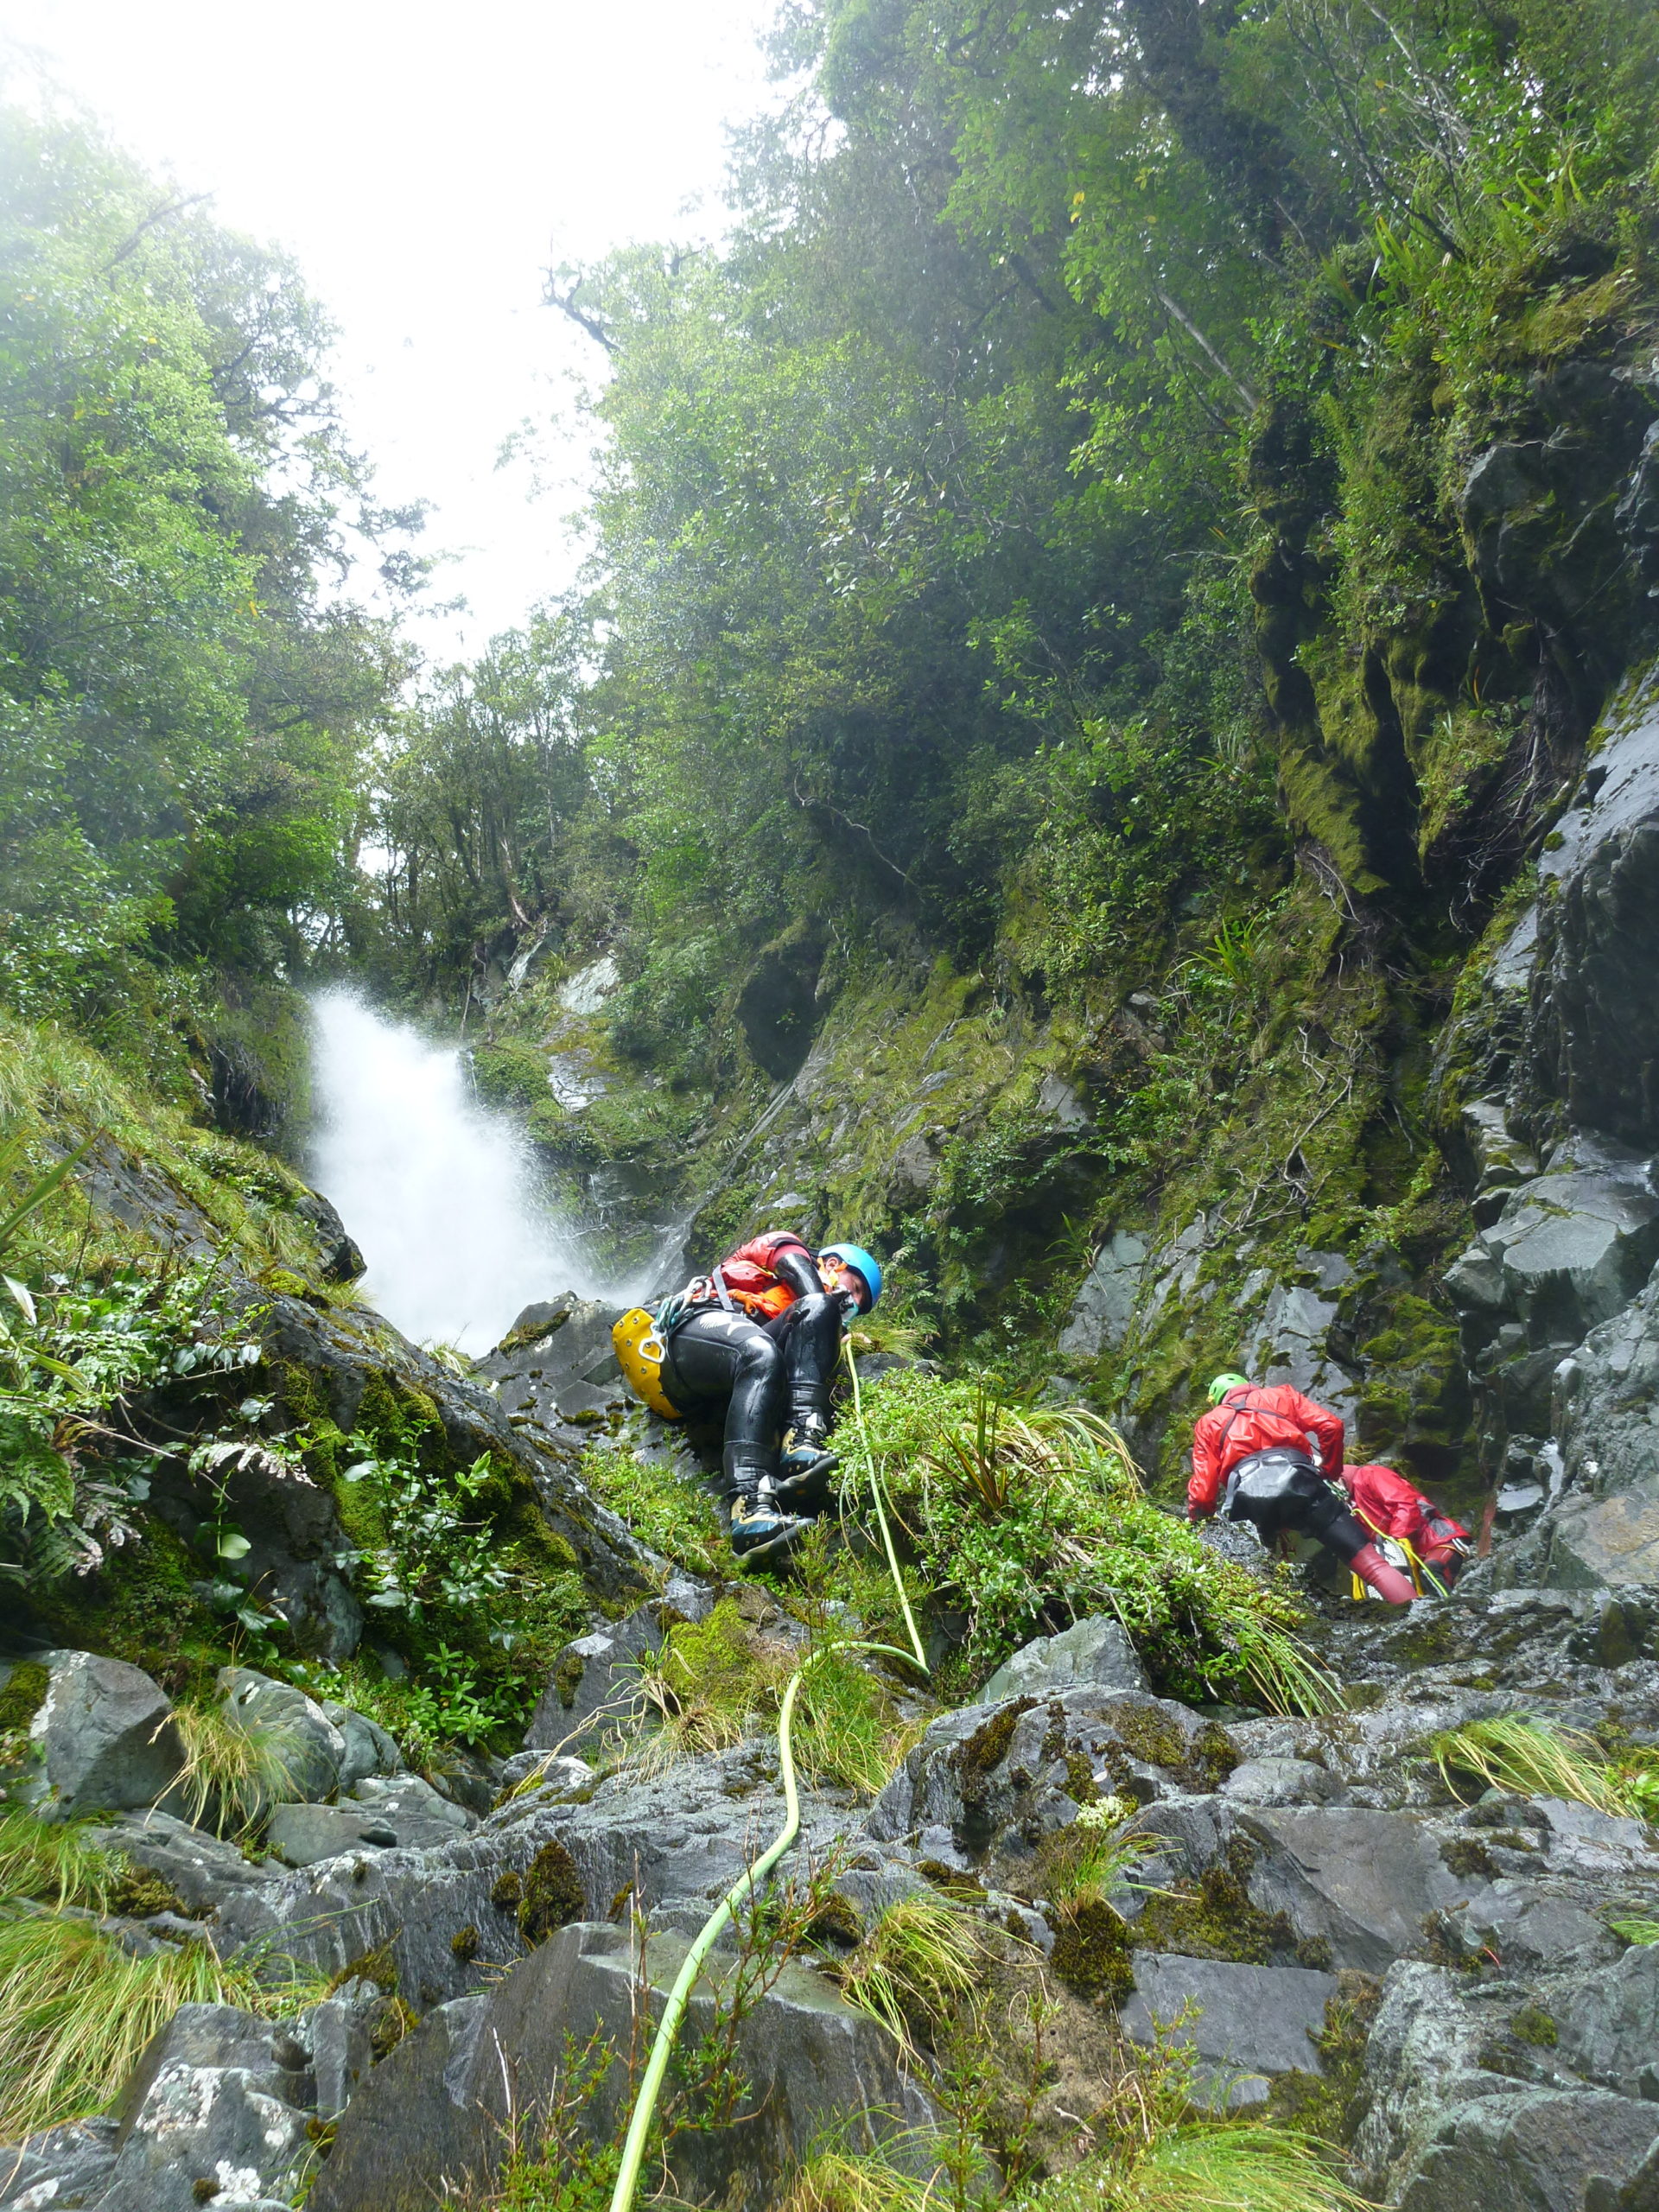
The rest of the rappeling is on dry slabs completely away from the water.
Absiel about 30m to a ledge system, and traverse towards the waterfall for roughly 20m. Keep an eye out for a pair of bolts on the slabs about 4m below the ledge. If you prefer, you can use a doubled 60m rope as a self belay for the traverse and anchor approach.
The final drop is about 45m and goes through a bit of vegetation to reach the stream bed below.
Future parties might forge a route down the watercourse, though protected locations for rebelays might be challenging to find.
Notes on the grading
Alain graded the canyon v4a4III in 2008, but Dan Clearwater thinks the grade is more like v5a3. The big falls have some hanging belays if you only have 60m ropes, and the flow is enough to cause imbalance whilst crossing.
Notes on the bolting
Bolting is a mixture of exploration (8mm tru bolts/spits) and permanent (double 10mm stainless tru bolts with ring hangers). The bolting is pretty well protected in most places, but a few could be vulnerable to damage in extreme flooding. This canyon has only had a handful of descents: Future teams would be wise to pack a drill with enough bolts to complete the big falls in case of anchor damage: there’s no escaping once you’re on the face!